|
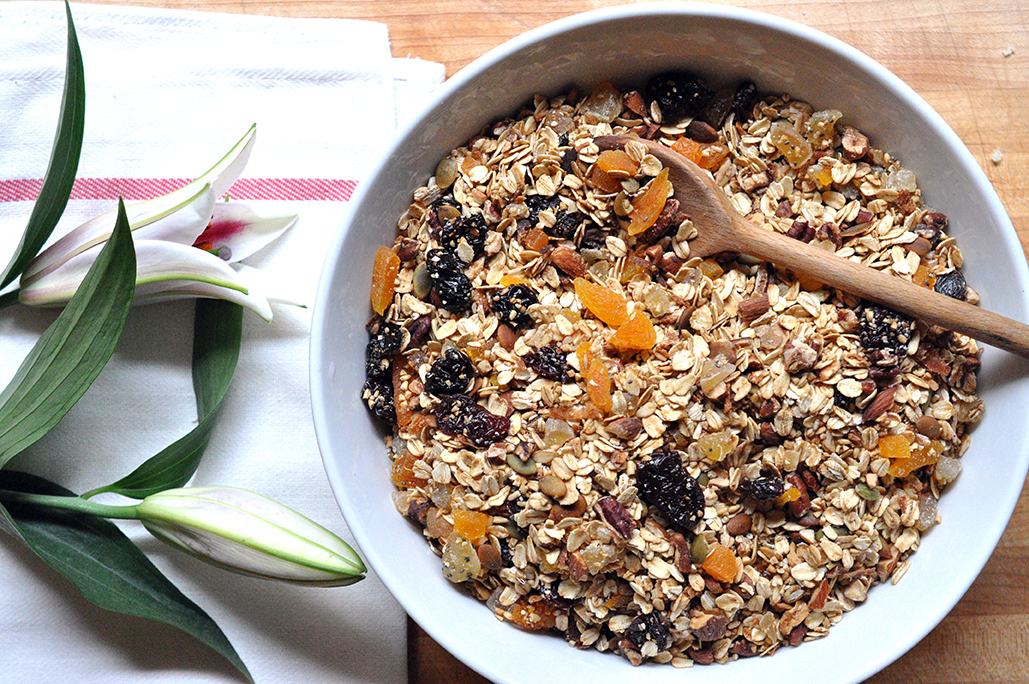
It’s been glorious outside and I haven’t really wanted to spend a ton of time in the kitchen. You see there’s this small window here in Texas where the weather is perfect before it turns to fry-an-egg-on-the-sidewalk hot…and I’m trying to enjoy every last second of it - case and point, I'm headed off on a week long camping/road trip in New Mexico this weekend! So before I continue packing I wanted to share a quick recipe with you that you can eat off for days - for breakfast, a snack at lunch, a crunchy dessert after dinner - or a perfect bring along on a road trip. Meet granola. Granola ranks pretty high up there on my deserted island list. I know it’s not the most practical of things and won’t even come in handy, but I’d want to have it none the less. Homemade granola is so easy to make and to customize. You can make it super nutritious or more of a late night sweet snack. It’s also become my go to, get well/thanks for hosting me/yay you had a baby! gift. Friends seem to love it and don’t often make the effort to whip up a batch of their own. Now many people may have their hands and days more full than I, but it’s really really easy, I promise. You can nuke it in the winter with a little milk for a morning treat, or it’s really good if you add a few chunks of cold apple and buttermilk in the summer. It can be a crumble on your next tart or a healthy topping on your ice cream...you get the point, it's versatile. You don’t even have to use that many ingredients, just toast the oats in the oven with some spices and maple syrup and viola, no frills oatmeal. The options are endless… Keep an eye out over the next week for pics from my trip on instagram you can find me @borninaford. Why that handle...well because I was, but that's a story for another time. Until next time... Homemade Granola PRINT RECIPE [Prep: 5mins / Cook: 35 / TOTAL: 40mins [Serving size about 8 cups]
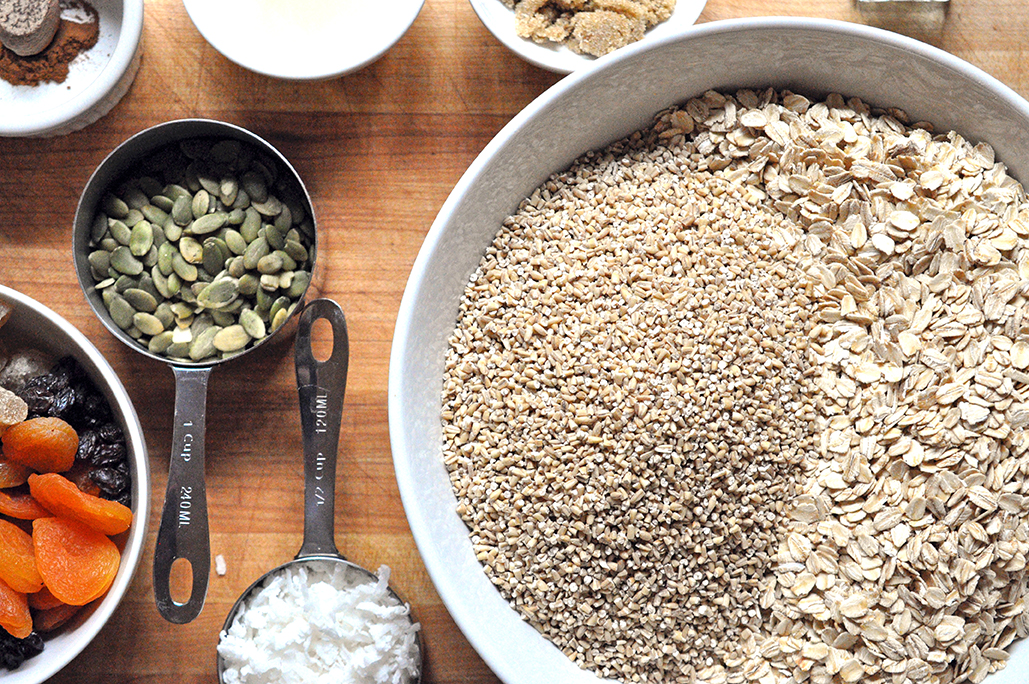
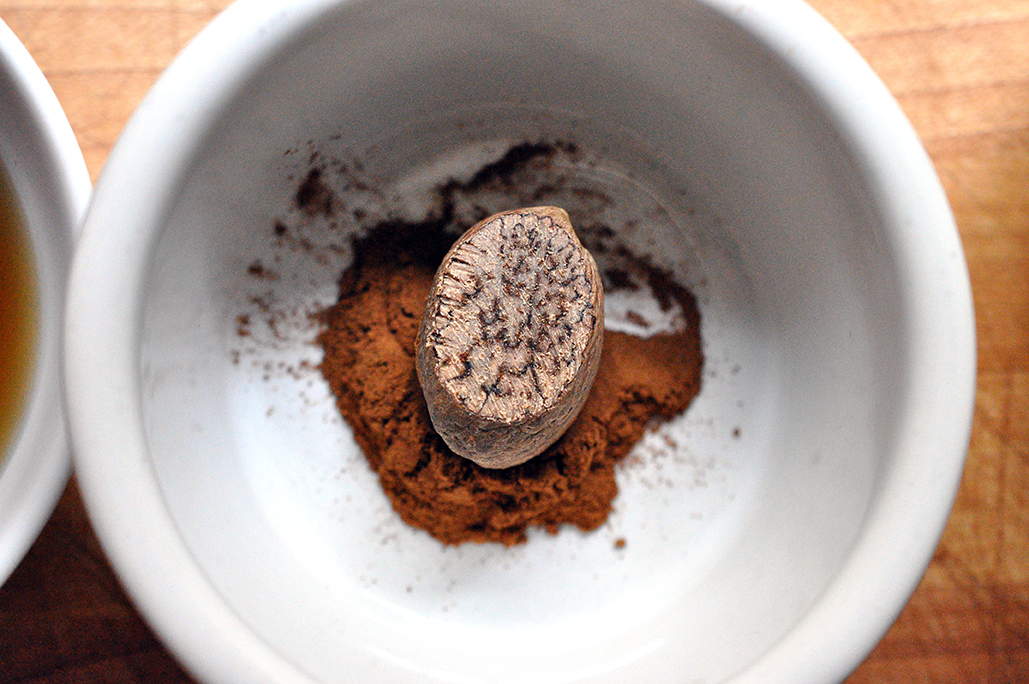
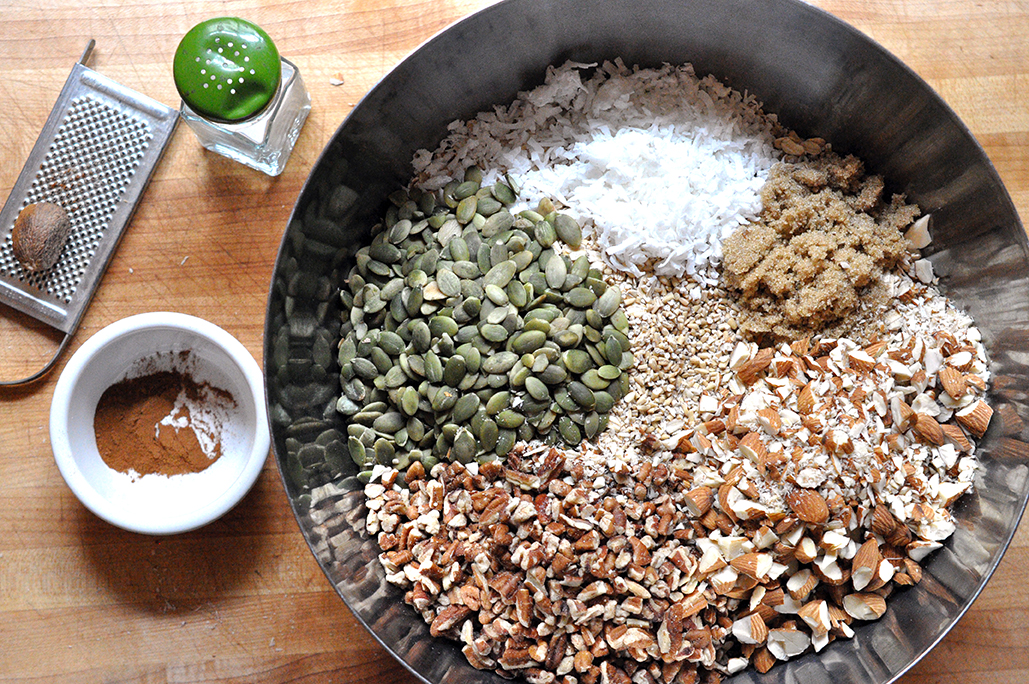
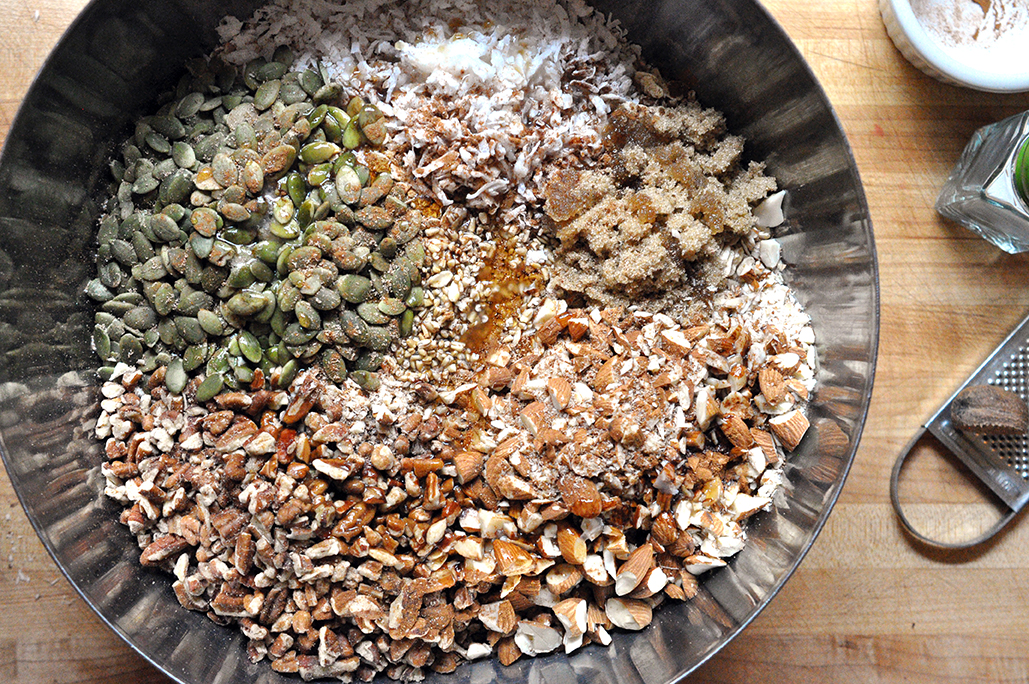
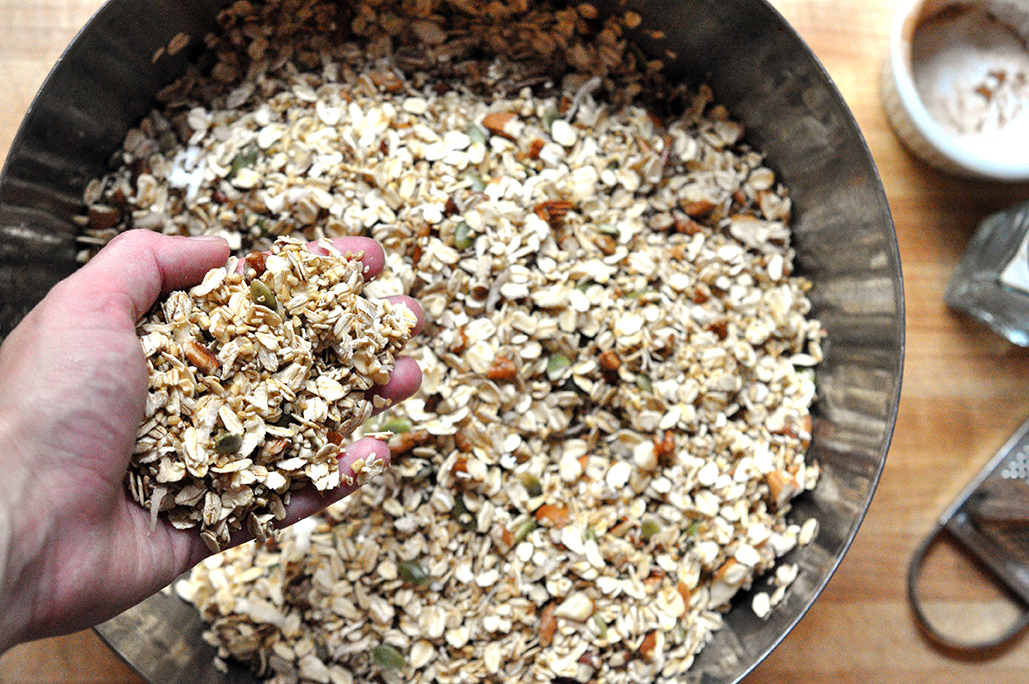
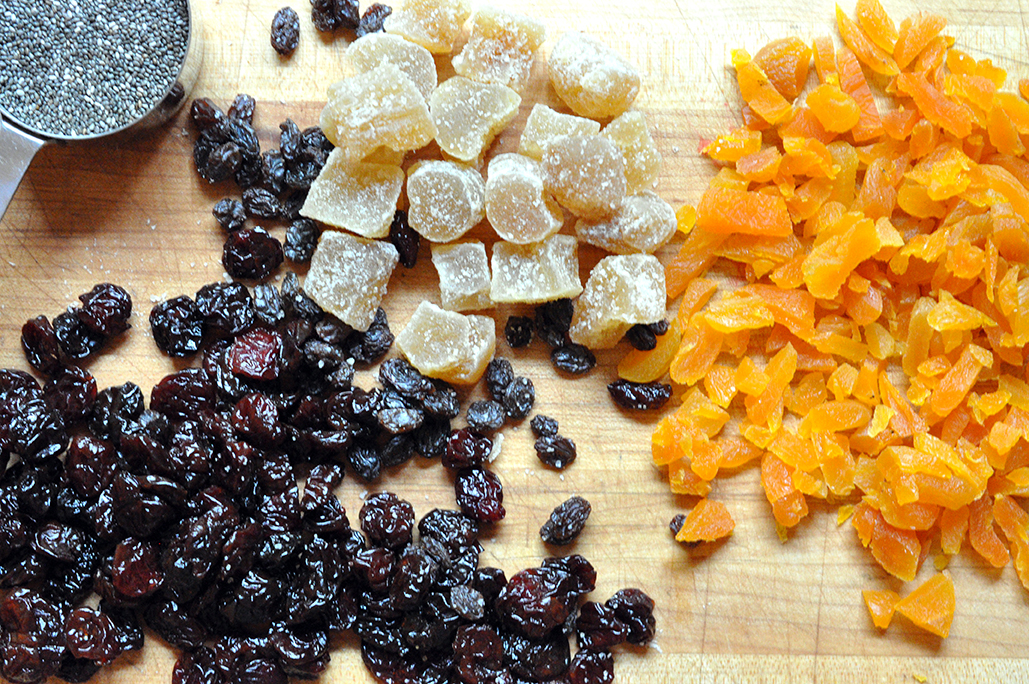
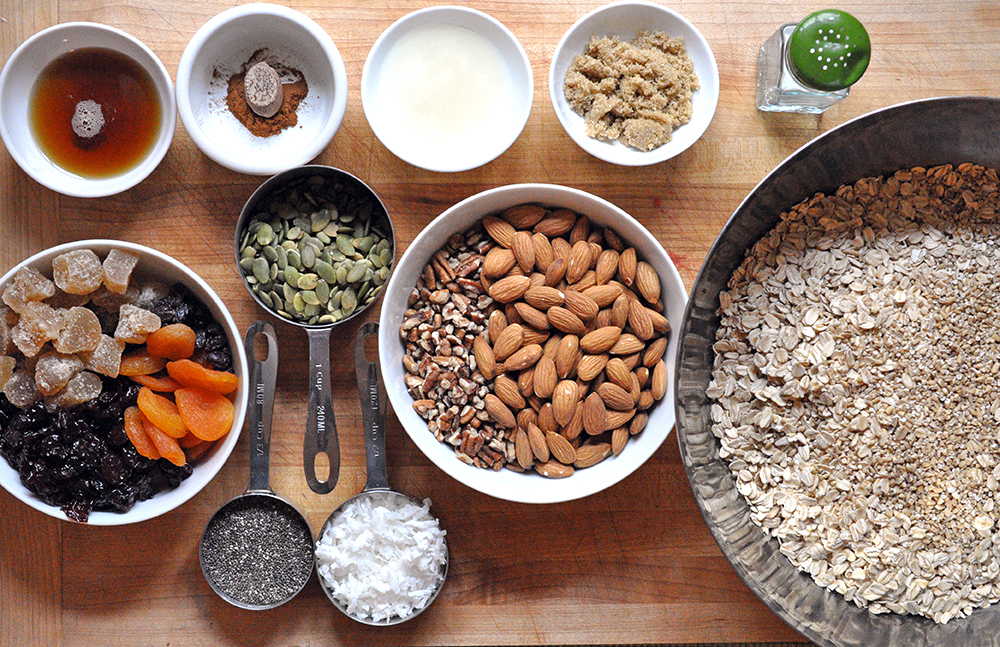
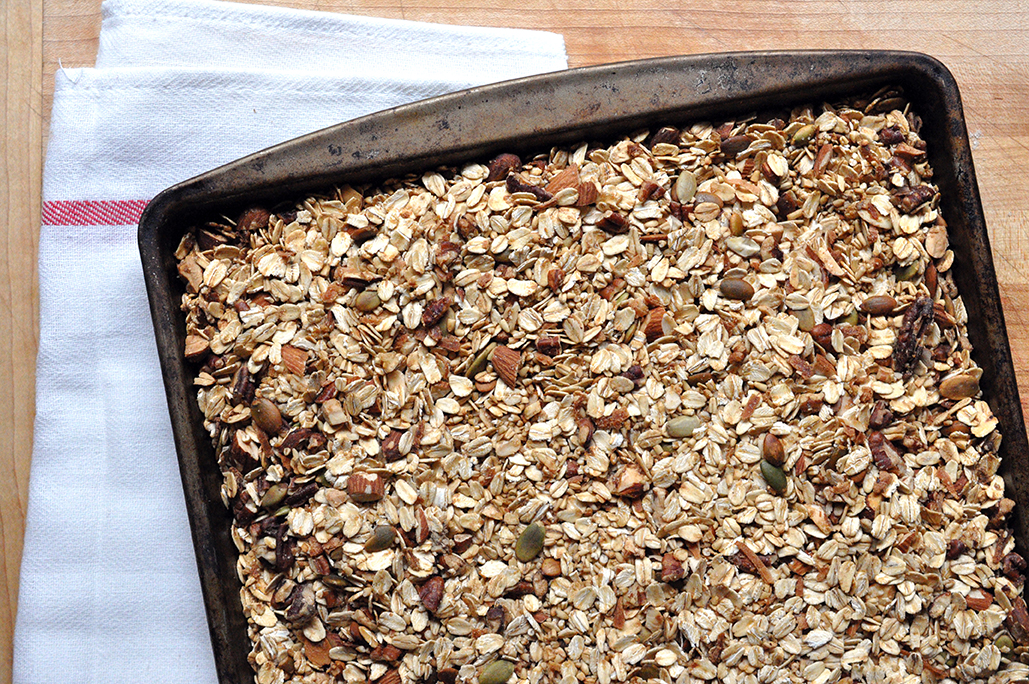
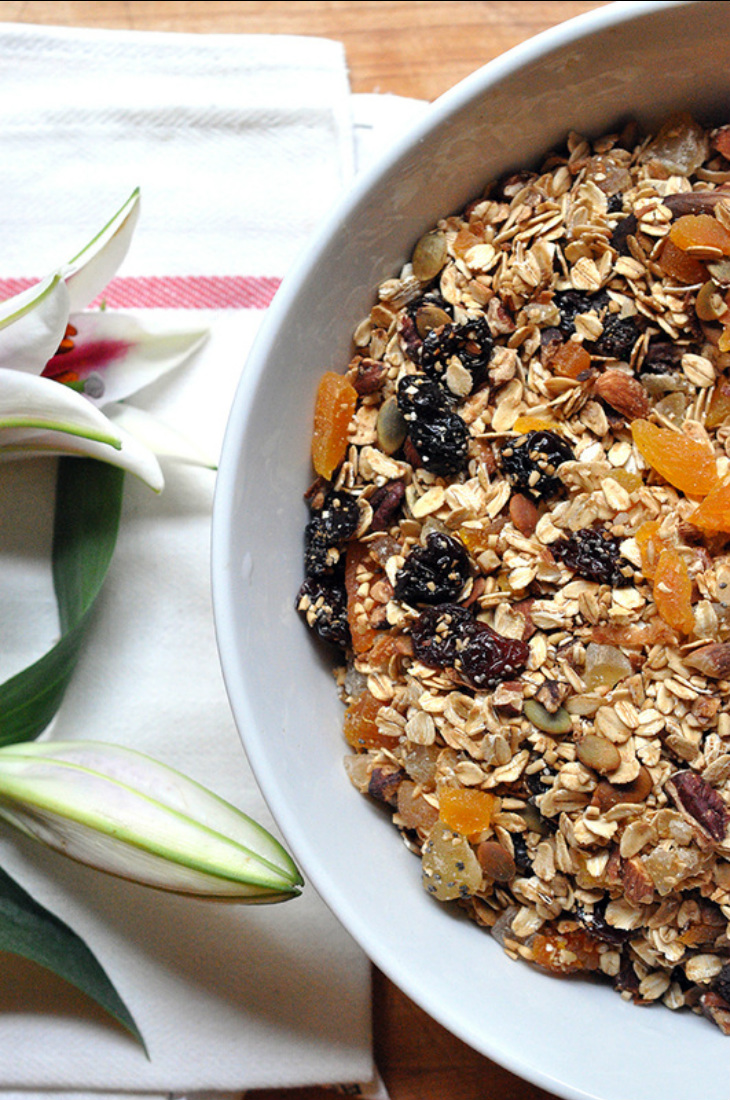
Preheat oven to 350° You will need 2 large baking sheets to roast the oatmeal on. In a large prep bowl combine all of the dry ingredients, except for chia seeds and the dried fruit - mix well. Add the coconut oil and maple syrup, toss gently to coat. Spread the oatmeal mixture evenly onto the 2 large baking sheets. Bake for 30 minutes, checking every 10 minutes to stir. While the oatmeal mixture is baking prep the dried fruit. Only the larger fruit needs to be chopped, the raisins and cranberries can be added whole. When the oatmeal is finished, let cool for about 10 minutes on the baking sheets. Transfer the oatmeal mixture to a large bowl and add the dried fruit and chia seeds. Mix well and you have granola! [You can play around with proportions here; I like my granola not too sweet and a little drier. This granola doesn’t clump together but the ginger, cinnamon and coconut are a super flavorful combo that tastes pretty awesome!]
0 Comments
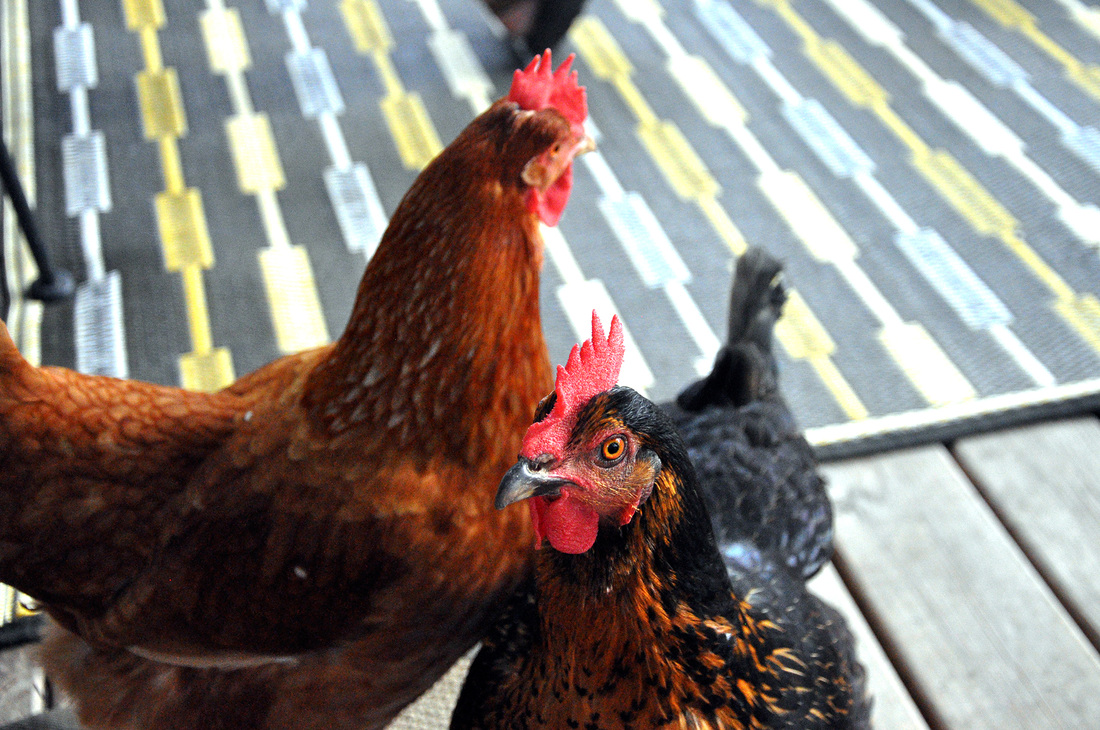
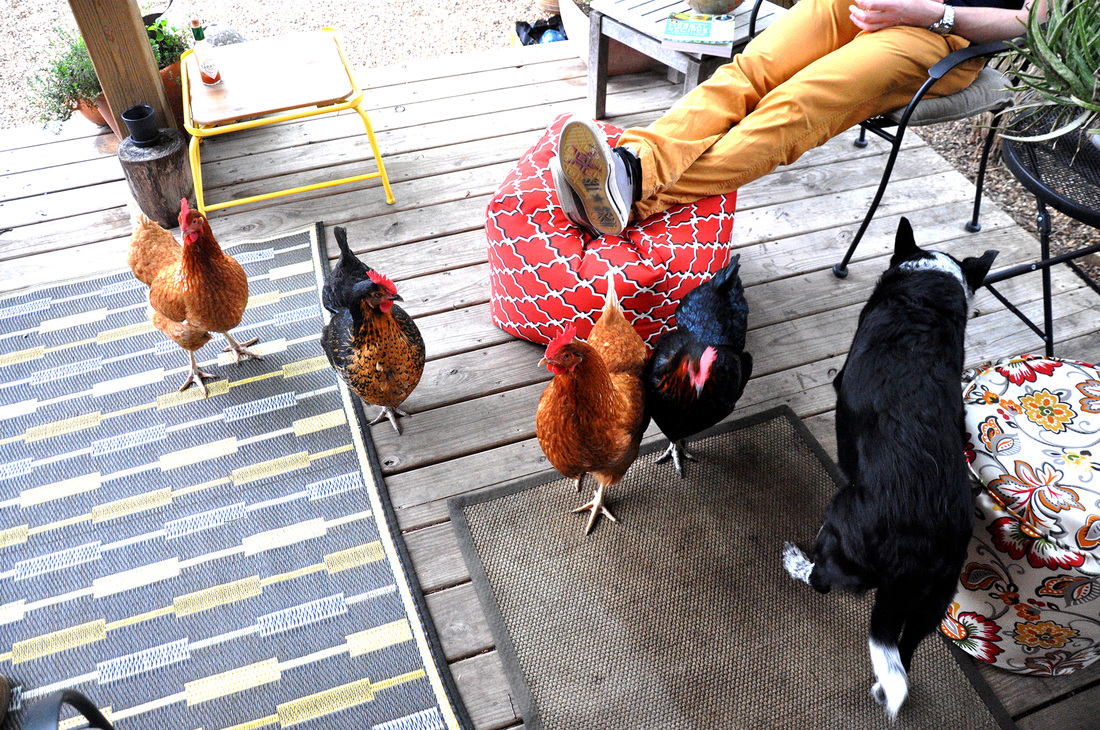
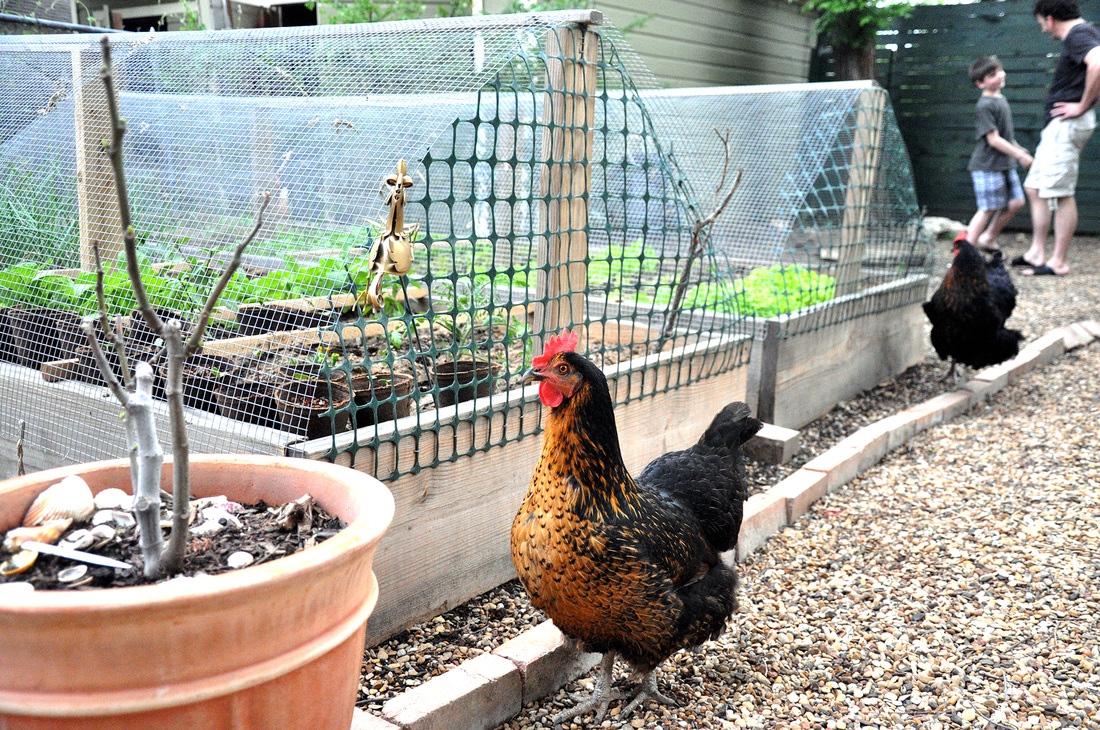
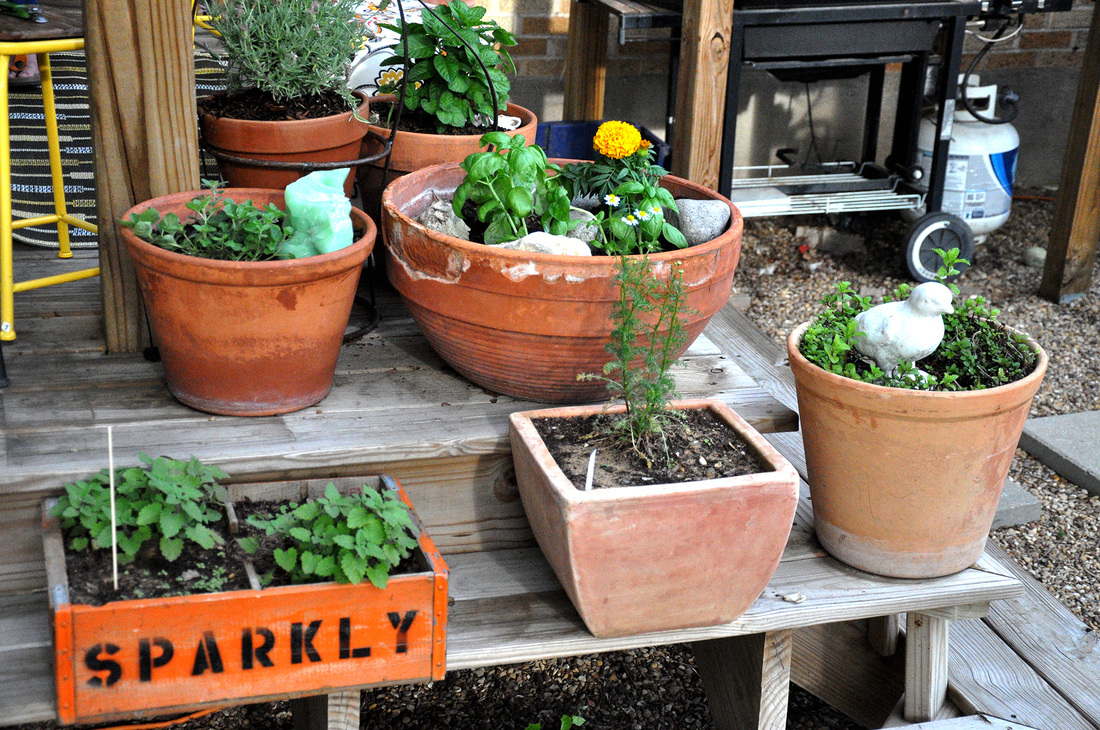
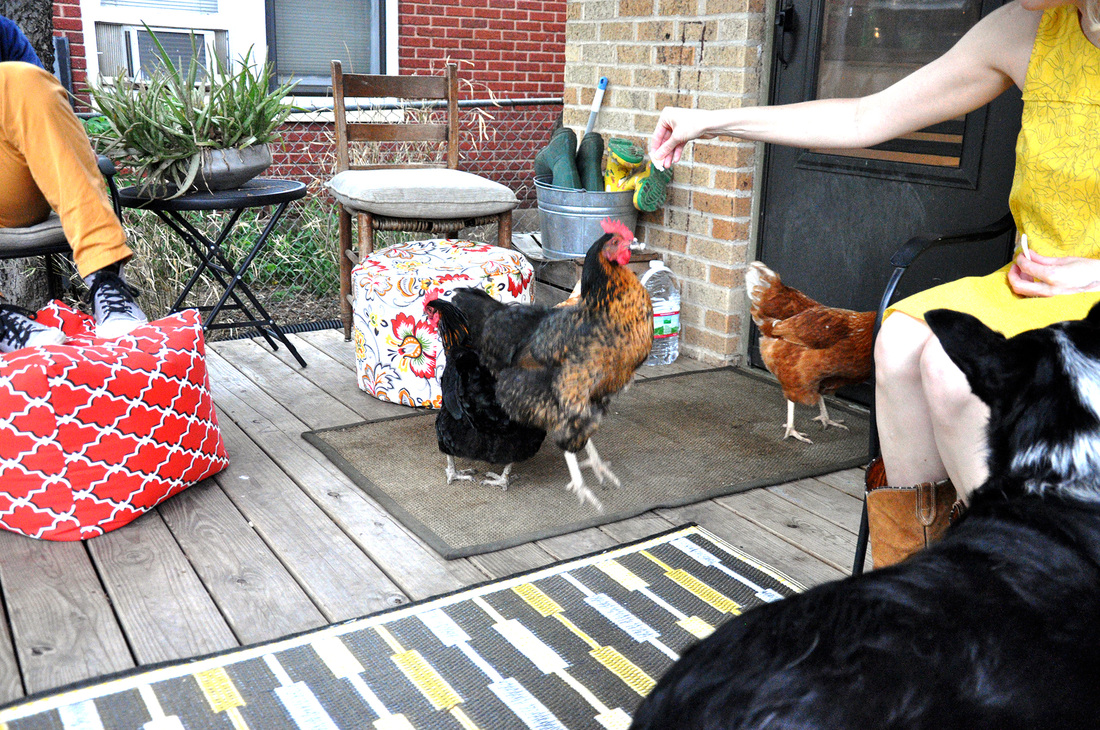
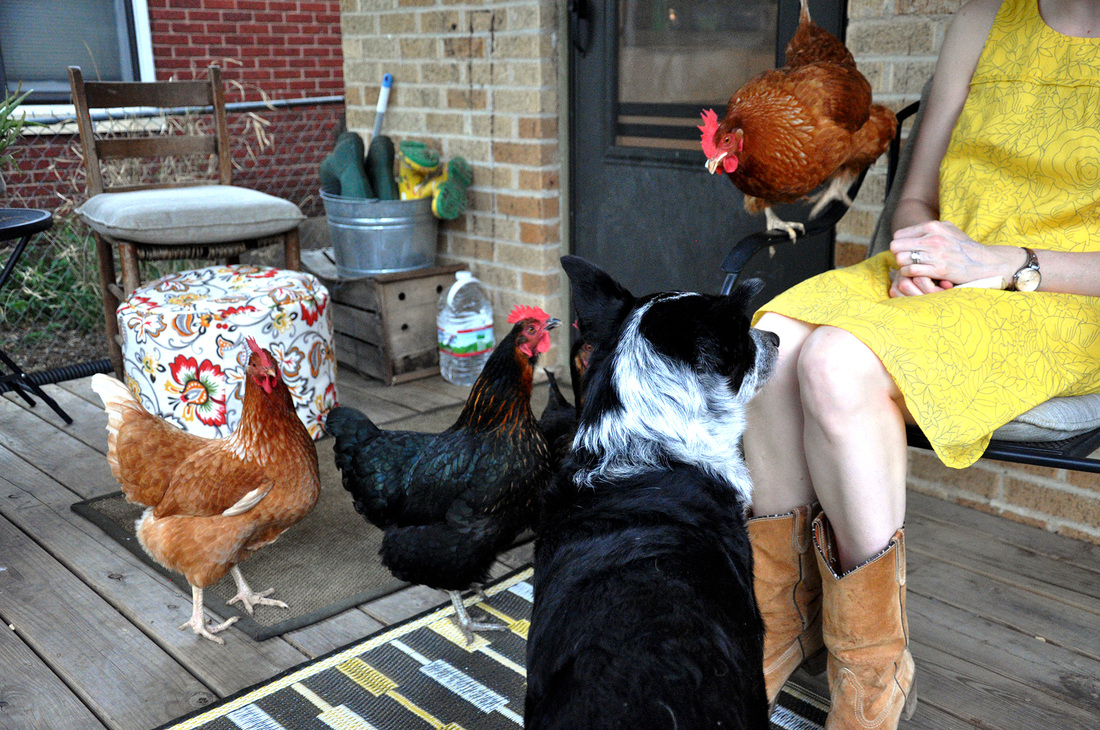
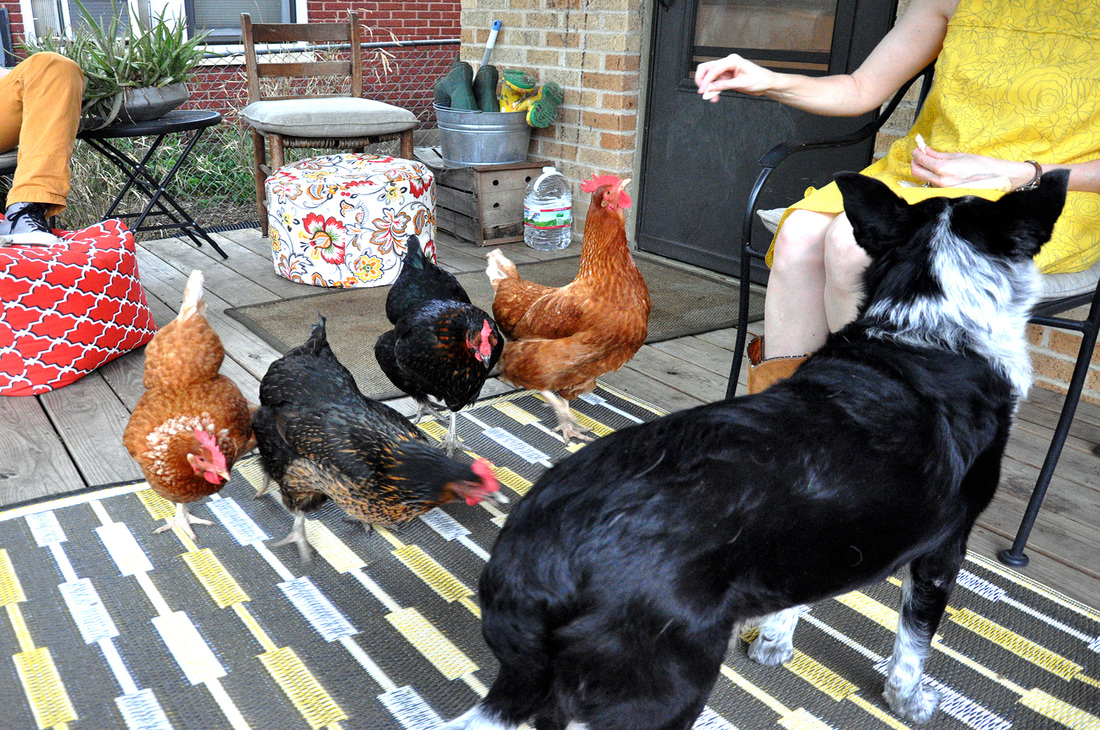
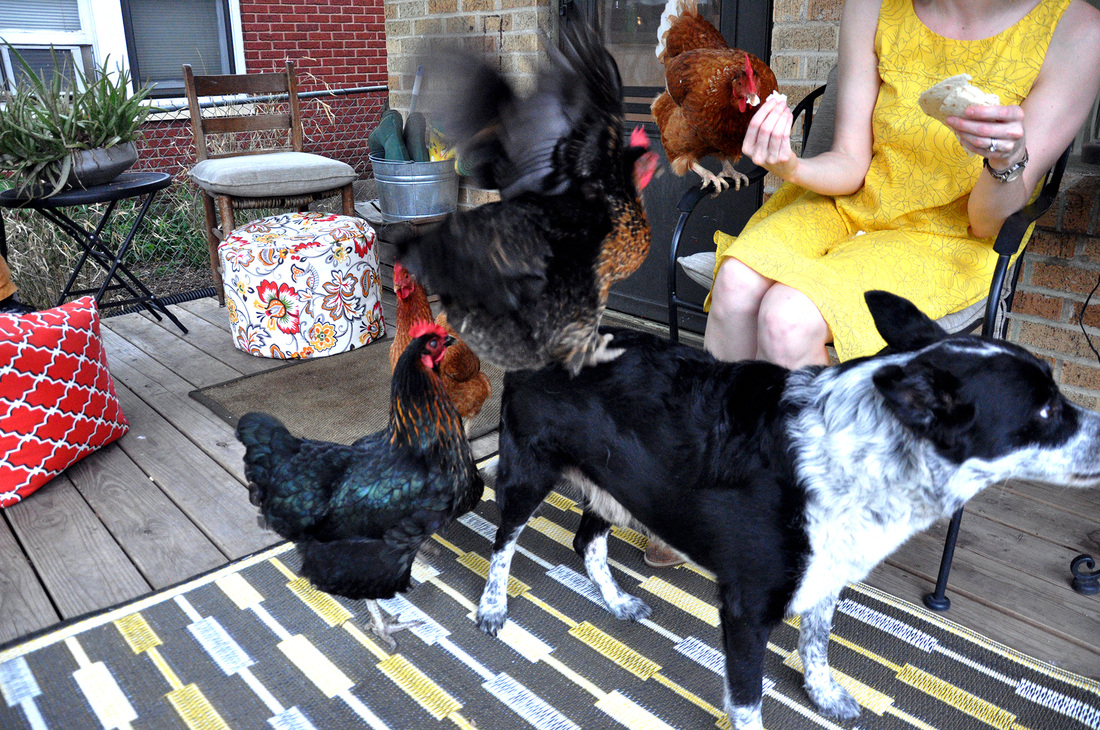
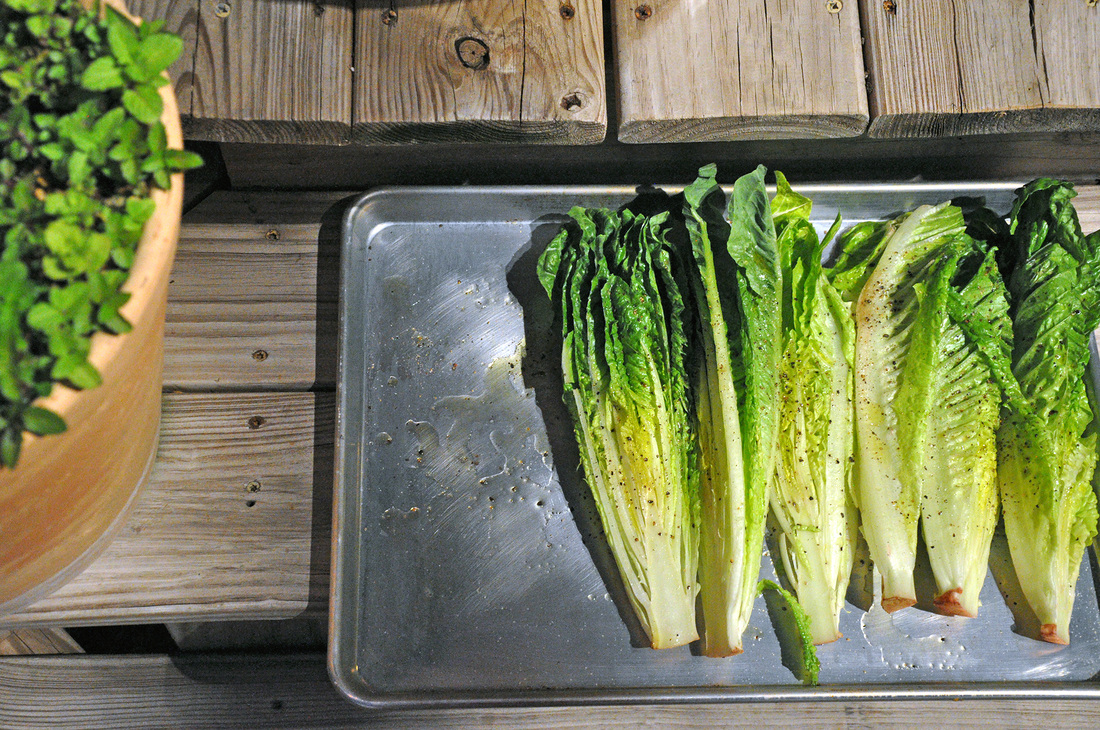
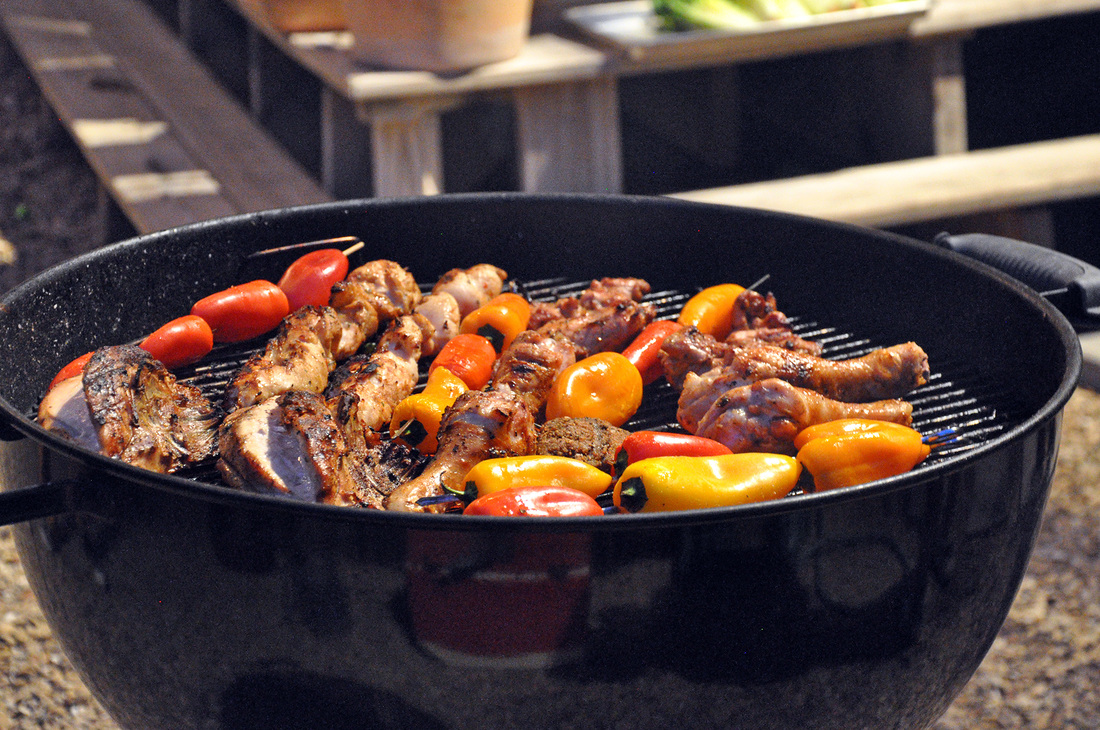
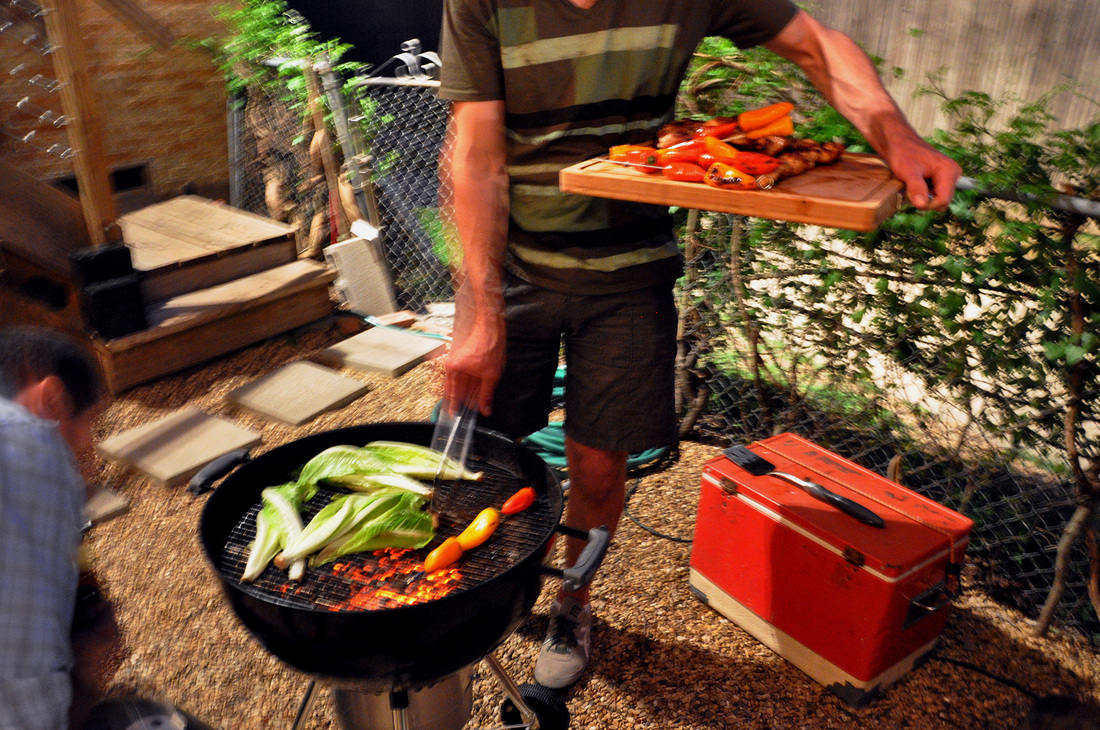
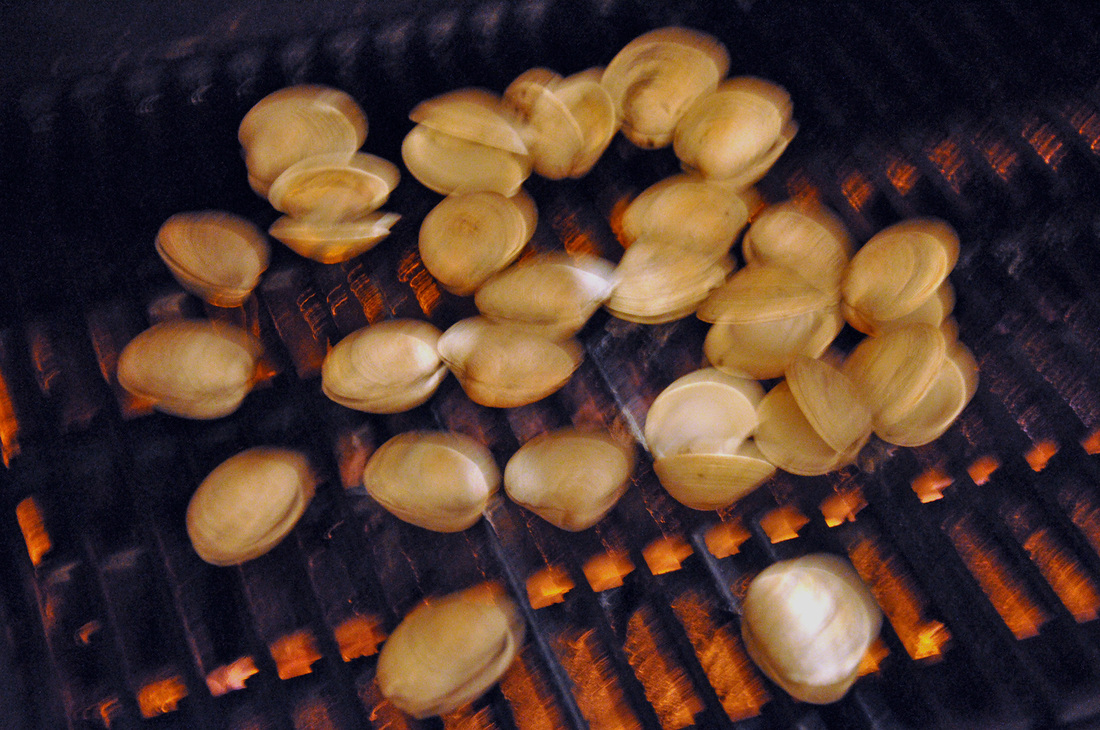
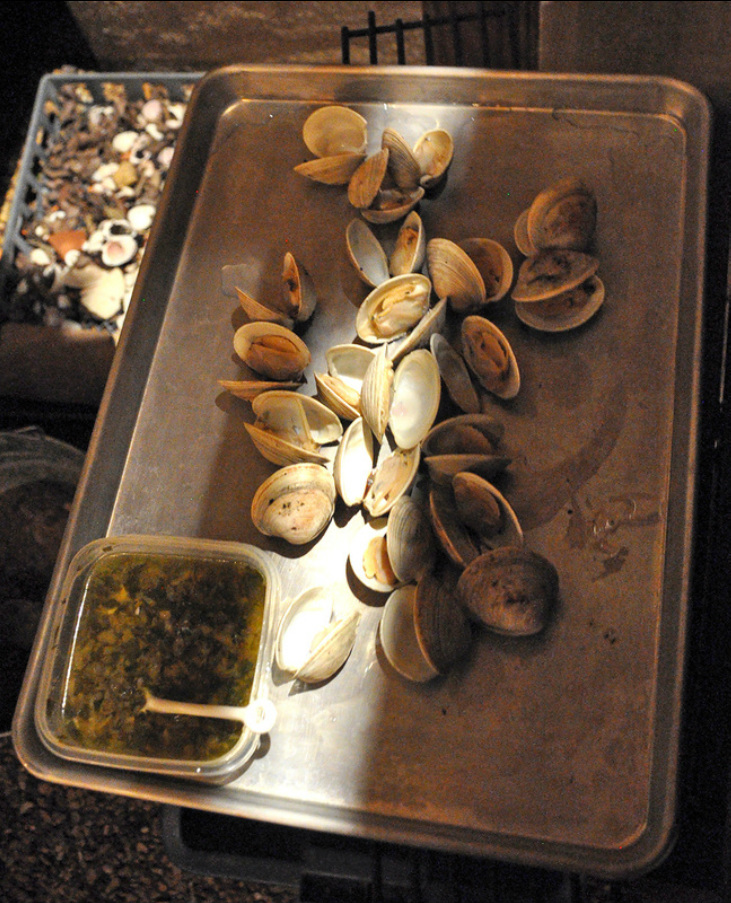
Hands down, my two favorite dishes to have when the weather starts to feel like summer are basil pesto and grilled clams. I could alternate these meals and eat them for days…I mean I would try, have tried…You could probably cook the clams in a cast iron skillet or in an oven, but there’s something about grilling, right? Nearly everyone has a fond childhood memory or two of eating corn, bbq chicken, ribs, or skewered veggies hot off the grill with friends and family nearby. Things can get messy, but the food always tastes great. So when I was recently invited over to my friend Marin’s house to grill, I piped in, “I’ll bring the clams!” My exclamation was received positively with perhaps a little bit of doubt. Down here in Texas I’ve had some dreamy grilled meats, from falling off the bone ribs to buttery brisket, to hot links and perfectly seasoned burgers – but what I'm always thinking in the back of my my mind is...where's the grilled seafood. Spending summers out on the east end of Long Island I grew accustomed to a normal (constant) intake of super fresh summer seafood. Softshell crabs fried in butter (sigh), seared sweet bay scallops, salty oysters, big plump blackened shrimp, and stuffed clams. To be honest it pains me to reminisce…but I’ve traded one tradition for another. I wish I could bring the smoky salty brisket with a perfect bark back for my parents to experience. Anyways, I’m getting off track and sort of hungry…The point is that I always want to grill clams when given the chance and was excited that I was going to share my simple recipe with a group of newbies. So where was I? Oh yes, last week I found myself at Marin’s – a true Kentucky lady at heart – urban farm. She has managed to turn her back yard into a little country oasis. With chickens waddling around, a sweet sweet dog name Bear soliciting butt scratches, and a kitty named Kitty sleeping through it all. I was immediately happy and at ease. There were raised garden beds and a made from scratch chicken coop – the only thing missing was, of course, the teepee that hadn’t been waterproofed yet. Herbs sat happy, young and fresh in assorted crates and old planters, the aloe was nearly exploding out of its container. I loved it all. Food is good enough on it own, but when enjoyed in such a perfect place, well let’s just say I was a happy camper. The clams went over spectacularly, claiming their rightful place next to the ribs and sliders. [warning Grilled Clams with Parsley Caper Butter PRINT RECIPE
[Prep: 5mins / Cook: 20 / TOTAL: 25mins [*Serving size about 5 clams per person = 5 people]
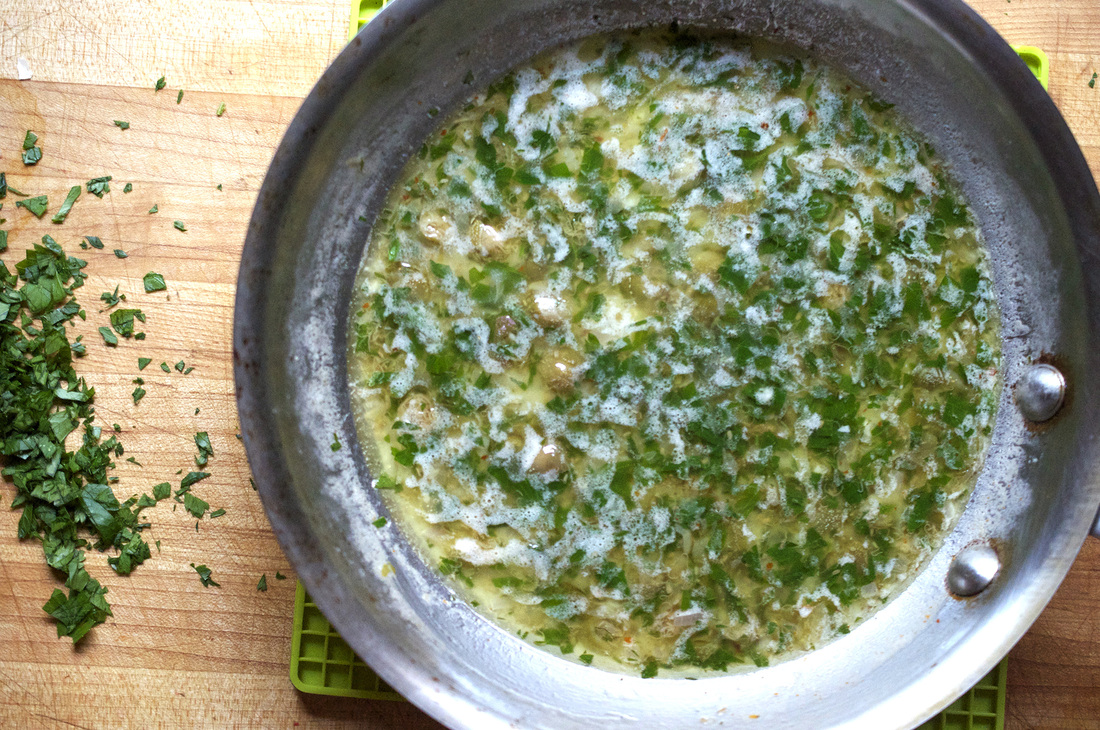
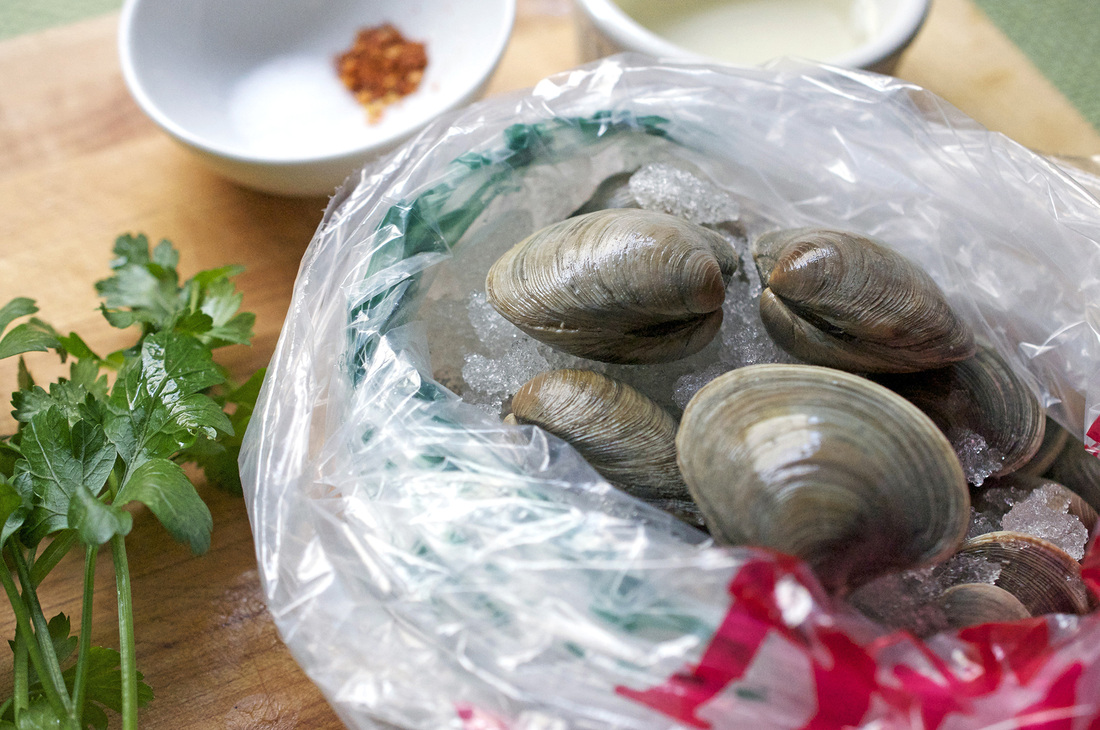
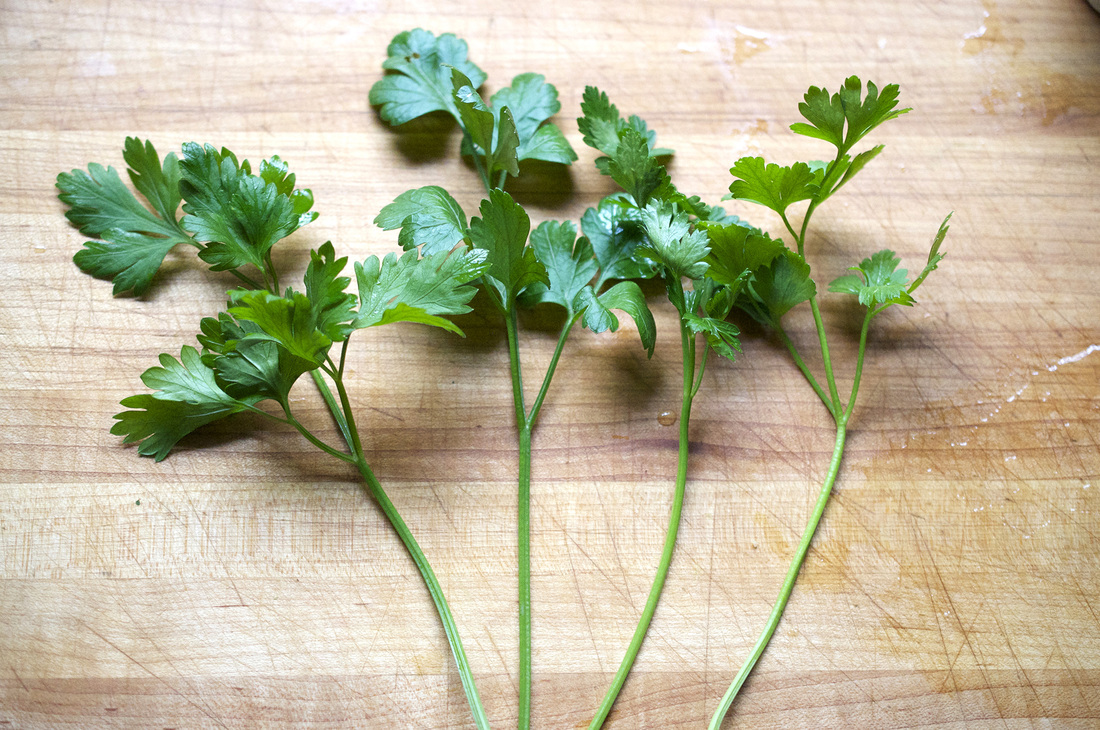
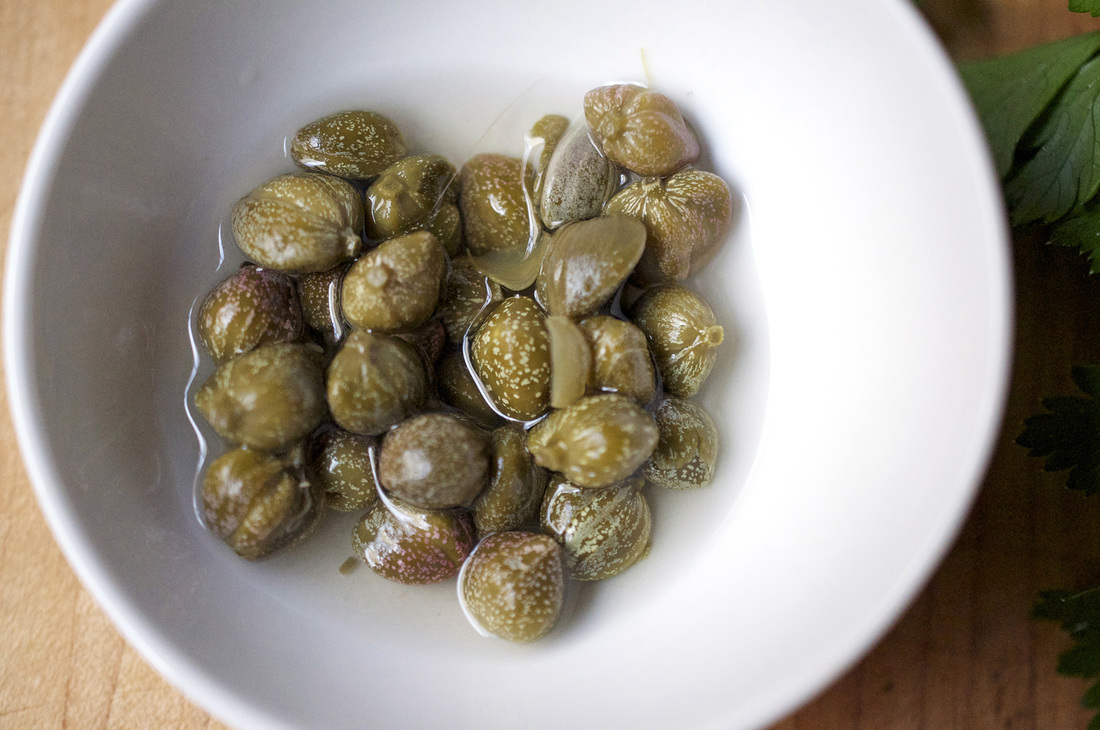
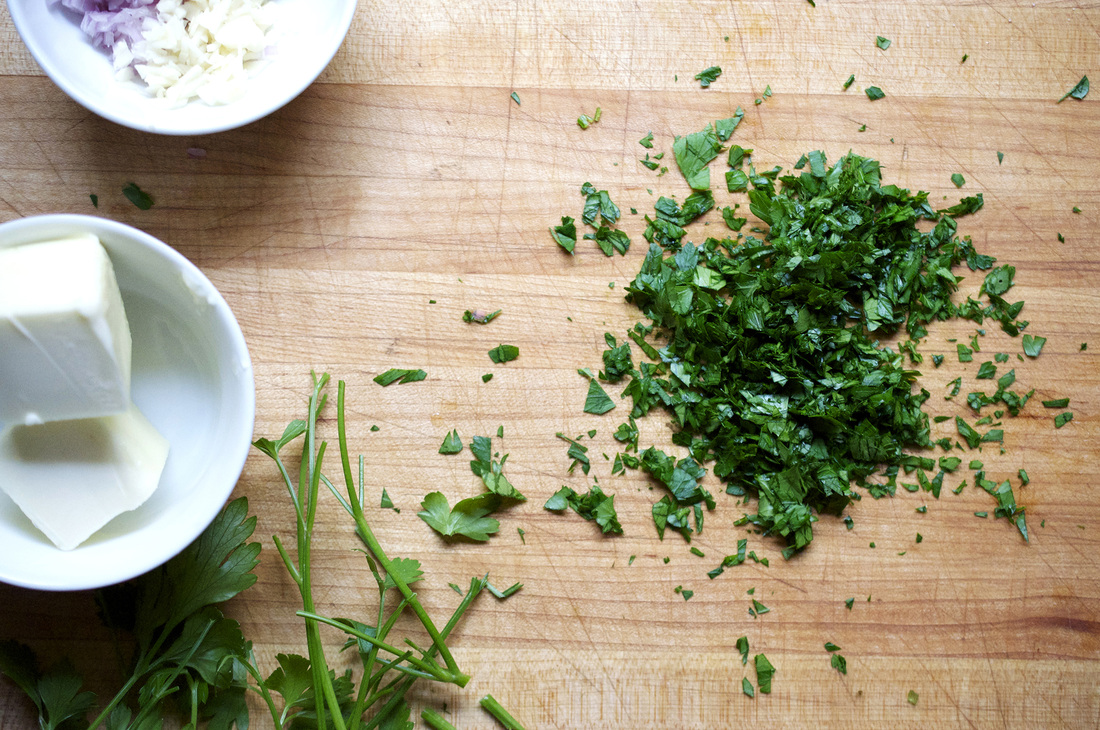
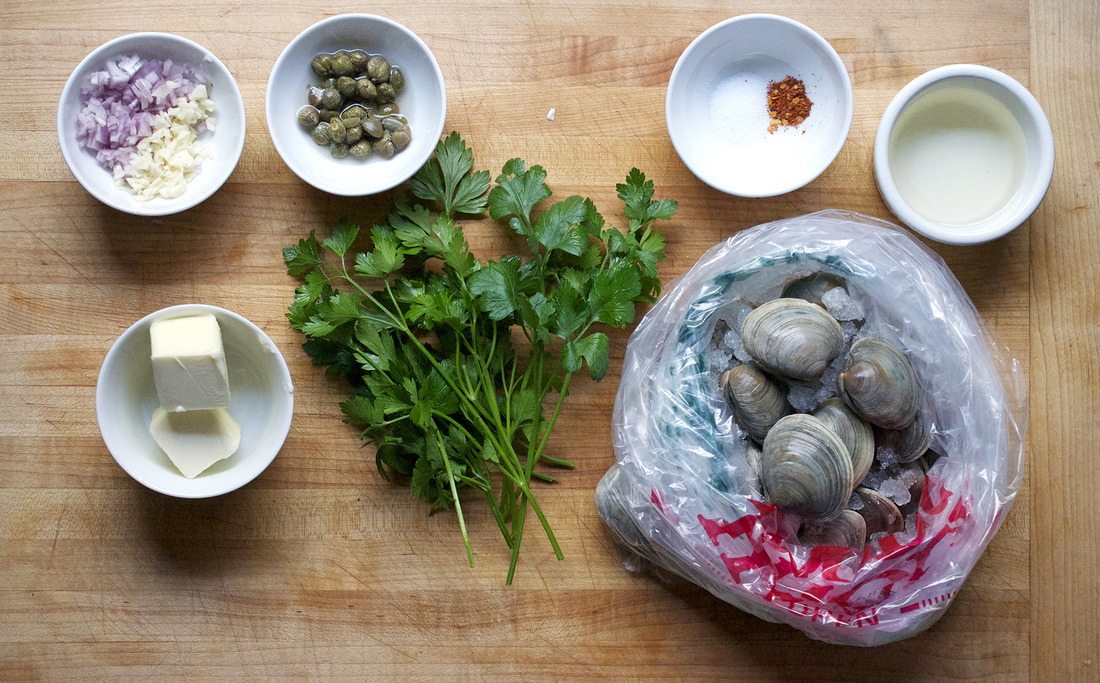
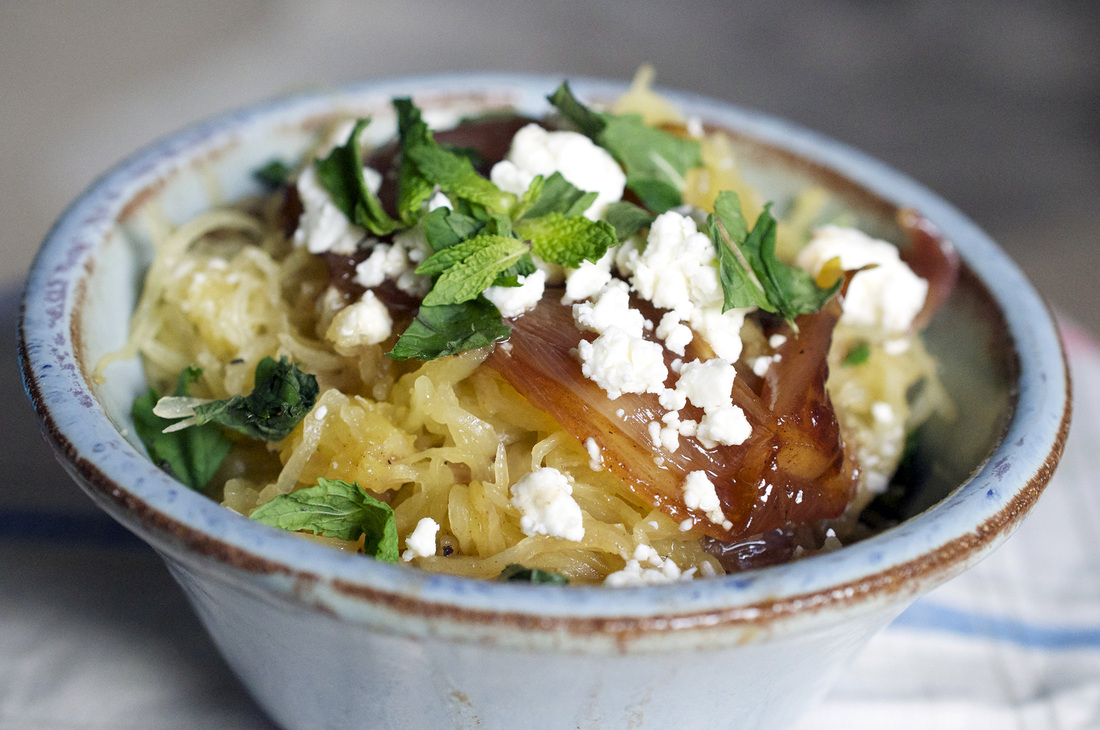
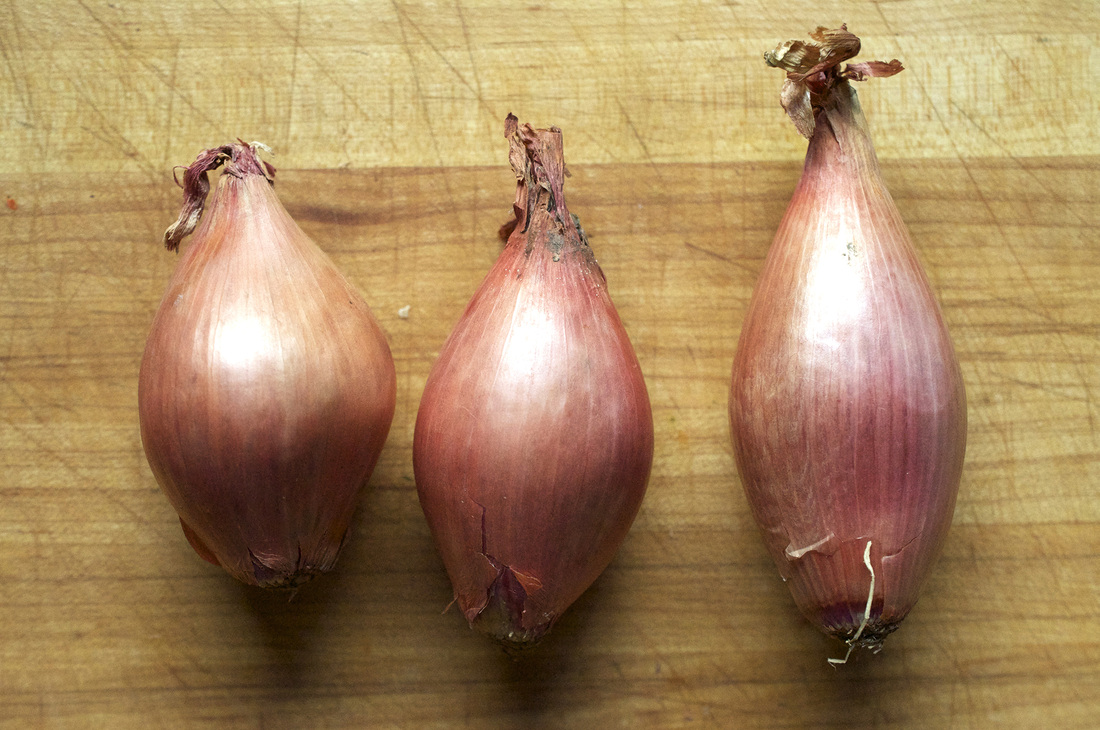
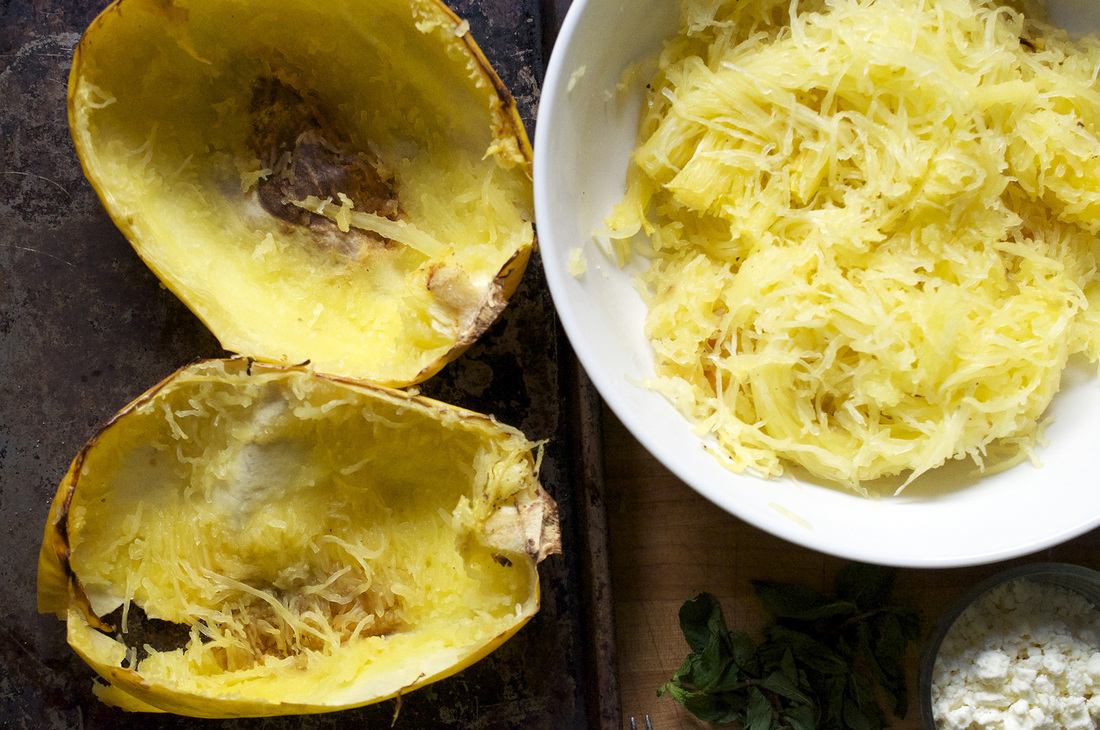
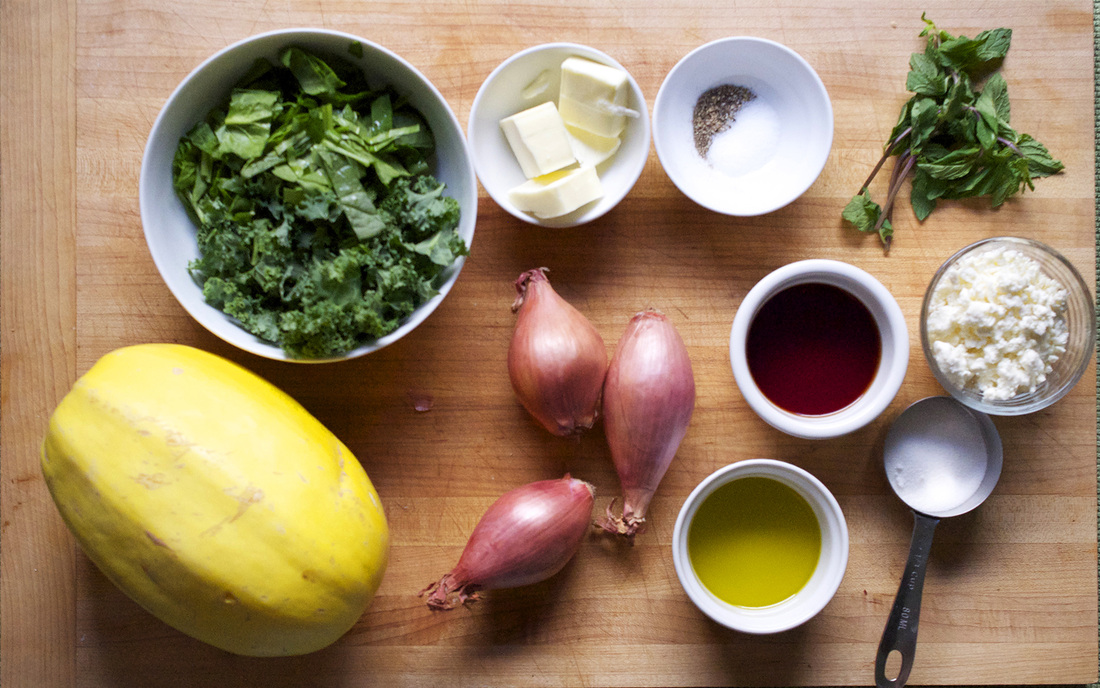
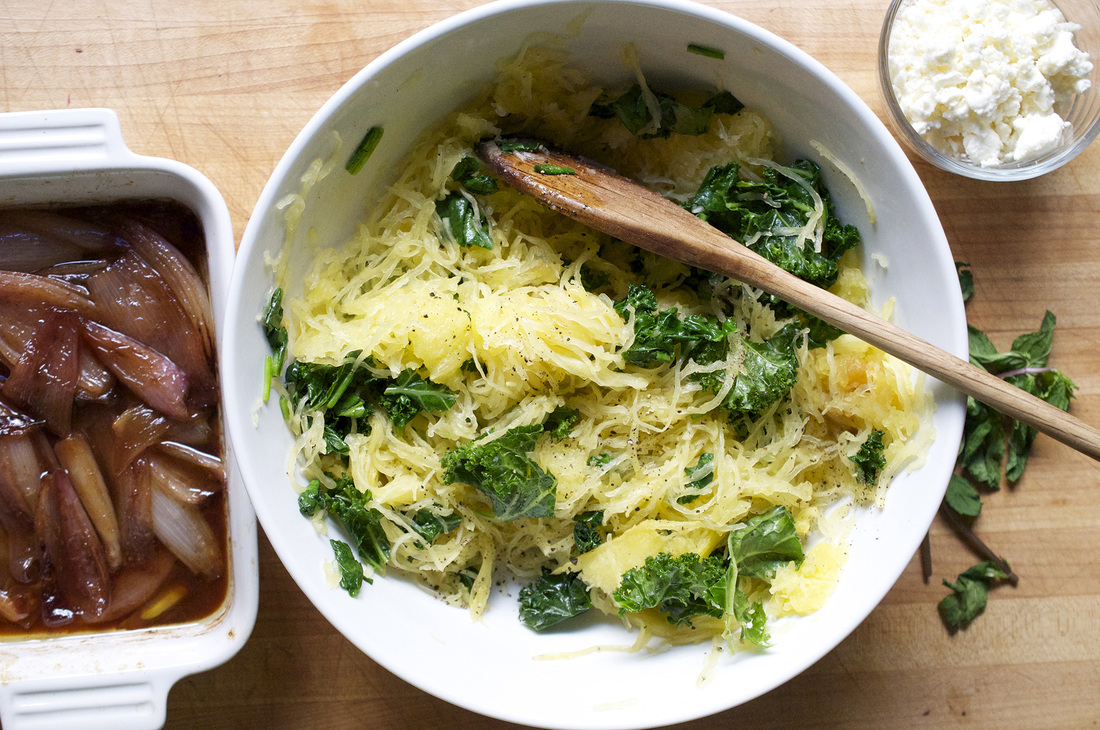
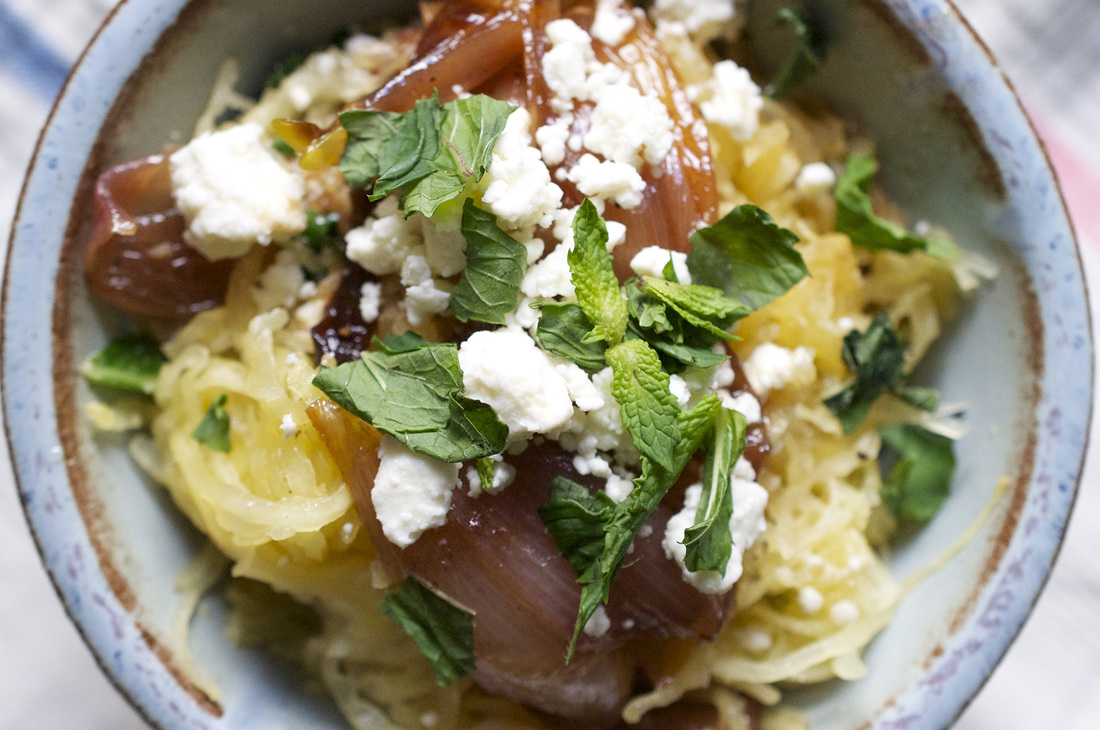
Depending on what kind of grill you have you may want to start heating up the coals/turn on the gas so you won’t have to wait around for it to get nice and hot. When you are ready to start prepping the meal take the clams out and fill a bowl with cold fresh water. Let them sit for 20 minutes. This will cause them to spit out any sand or grit that they have inside their shells. Most clams won't come covered in barnacles so they just need a good rinse with a firm brush right before they're cooked. [Does this sound familiar? Check out my Summertime Clam Pasta for more deets on cooking with clams:o)] Peel and mince both the garlic and shallot. Rinse the parsley, drain the capers and mince both. Once all the prep is finished, melt the butter in small skillet over med high heat. Once the butter is bubbling lightly add the minced shallots and minced garlic, let sauté for about 2 minutes, stirring often. Add the ¼ cup white wine and let it cook off for 1 minute. Add the capers, parsley, salt, pepper and hot pepper flakes. Lower the heat and let simmer for 2-3 minutes before removing from the heat. Transfer to a small serving bowl. If the grill is ready, then the throw the clams on. Spread them out so that they do not crowd each other and close the grill. After 5 minutes start checking for open clams. Make sure to have a serving platter ready next to the grill. As they open remove them from the heat right away. Some clams may take a little longer, just give them a tap or two and keep the grill closed as you wait. The clams can be eaten right away – but watch out, they can be hot! Make sure to give each one a good splash of the parlsey caper butter sauce! *This serving size is based on the clams being a starter or passed appetizer. They go fast so feel free to grill more, especially if they are the main course! The volume of parsley caper butter sauce will go far. I usually have a little leftover and will freeze it and use it as a starter for a seafood pasta sauce. **I used little necks, but cherrystones – a bigger meatier kind – are really good on the grill. There are few things that I enjoy more then when random food I have hanging out in my fridge becomes an honest to goodness meal. My mom calls this catch it and pull it. I do this quite often but recently this chance encounter of ingredients worked together so well, that I made it again within a week. The culprit was spaghetti squash. I know it’s not really the season for it, spaghetti squash is more of a winter vegetable but it was hanging around in the supermarket sort of like how winter has been hanging around even thought it’s technically Spring now. I then had the squash sitting at home for days not knowing what to use it with, but I wanted to use it before it went bad. Now, my mother and I have had an ongoing conversation about the best way to caramelize whole shallots and I’d recently come across a few recipes that caramelized them on the stovetop and then roasted them in the oven. I happened to have a few shallots, and I wanted to try out one of the recipes, so those were quickly added to the list of ingredients. It really wasn’t until the [buttery sugary] shallots were roasted in the oven along with the spaghetti squash that I picked out a few other things to perk up the dish. Whatever greens I had in my fridge were rinsed, chopped and then quickly sautéed – just to the point of wilting. A little feta saltiness to counteract the sweetness of the shallots and then some mint. Mint because…well just because it adds a surprising flavor to savory dishes and works more often than not. So even though this is more of a Fall/Winter recipe I couldn’t wait to share it. I had it as a main course, because as I mentioned I was rooting around in my fridge for ingredients and hadn’t really planned it all out. If I did it again I’d maybe have it as a side with some sort of fish. Cod or sole would go great…or maybe some scallops… Roasted Spaghetti Squash with Caramelized Shallots PRINT RECIPE [Prep: 10mins / Cook: 45mins / TOTAL: 55mins [2 dinner servings, 4 side servings]
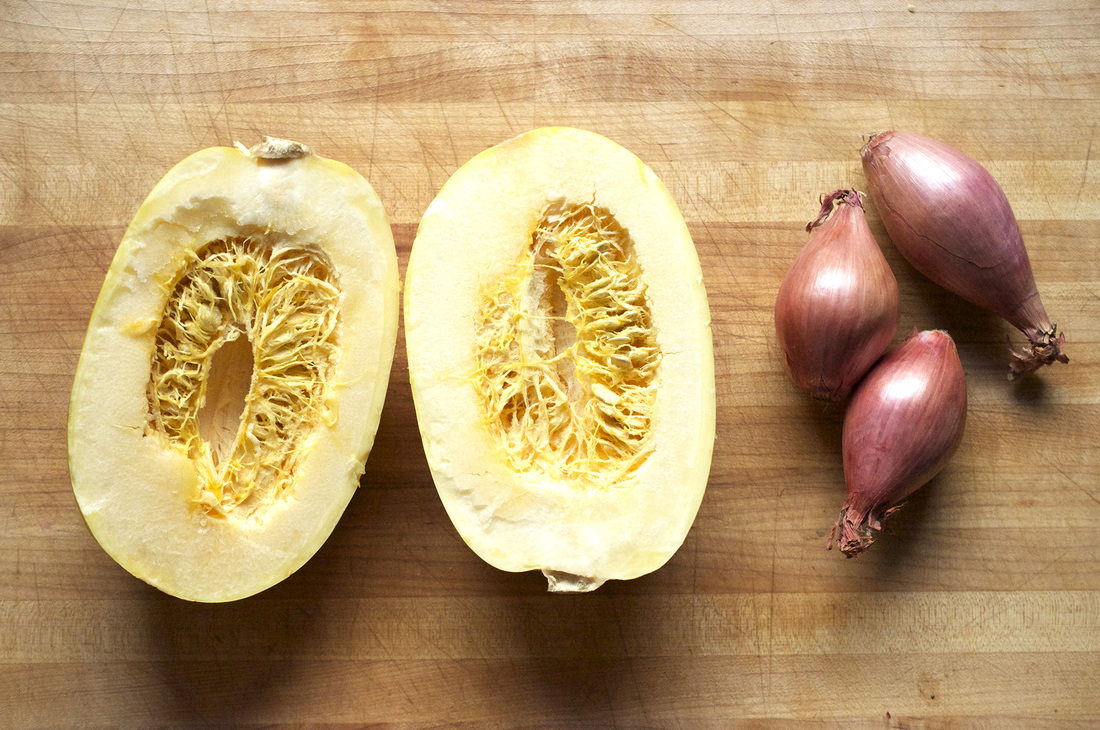
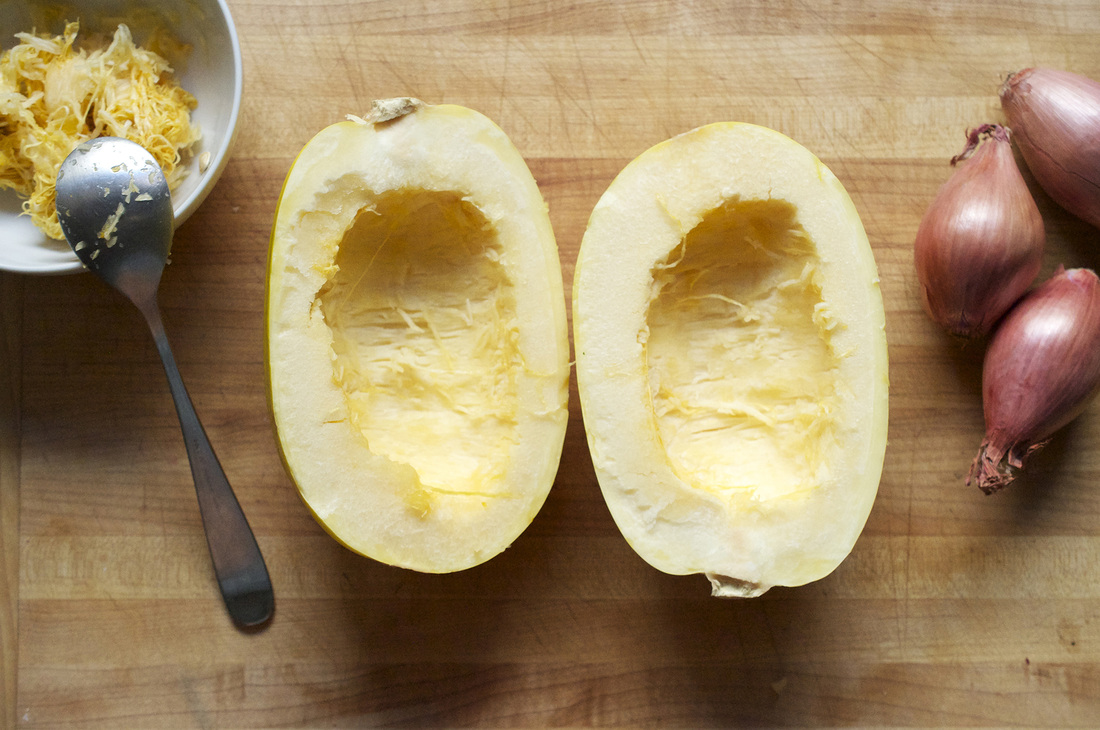
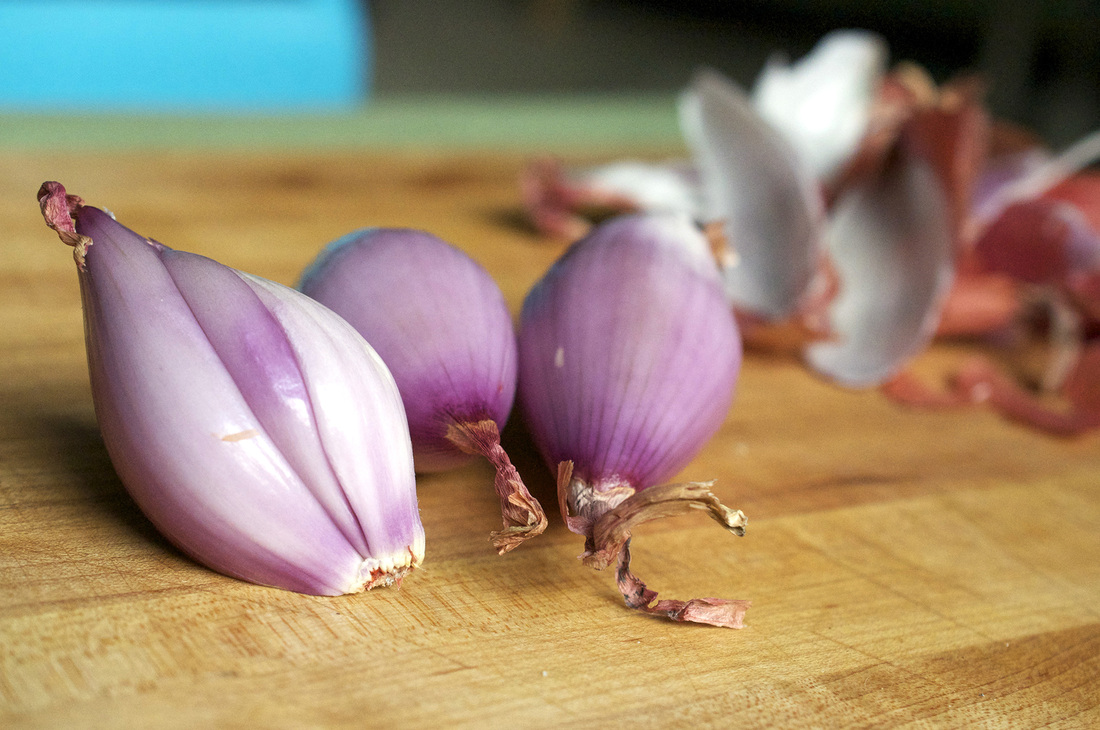
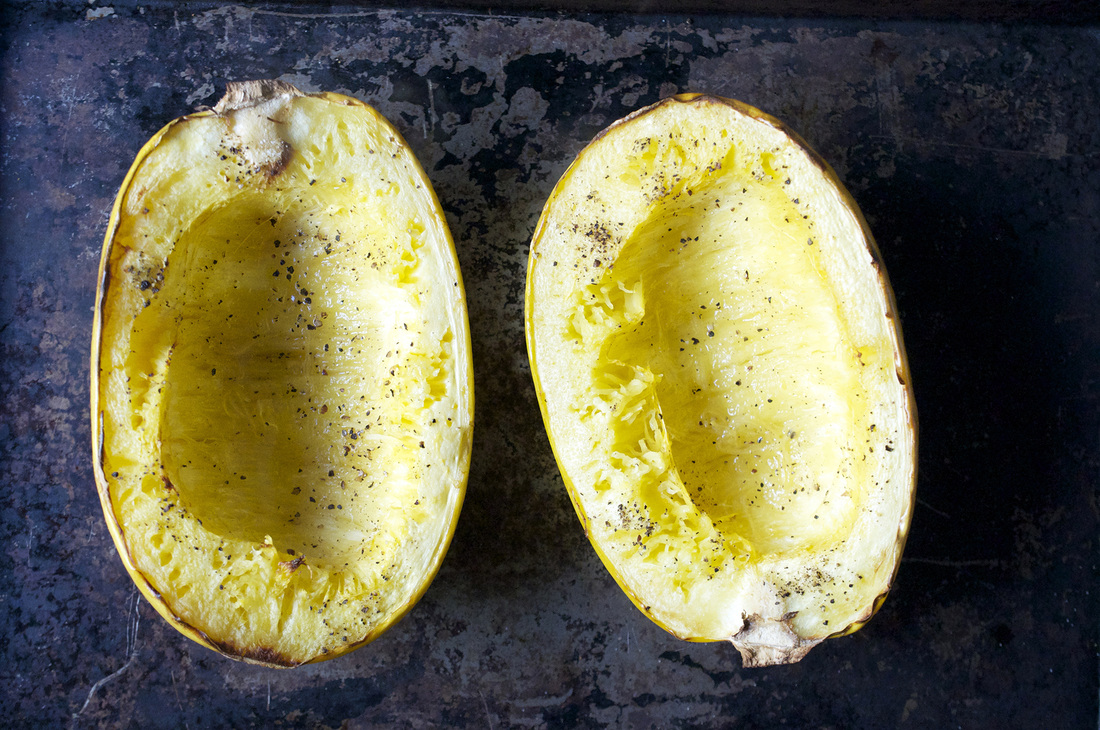
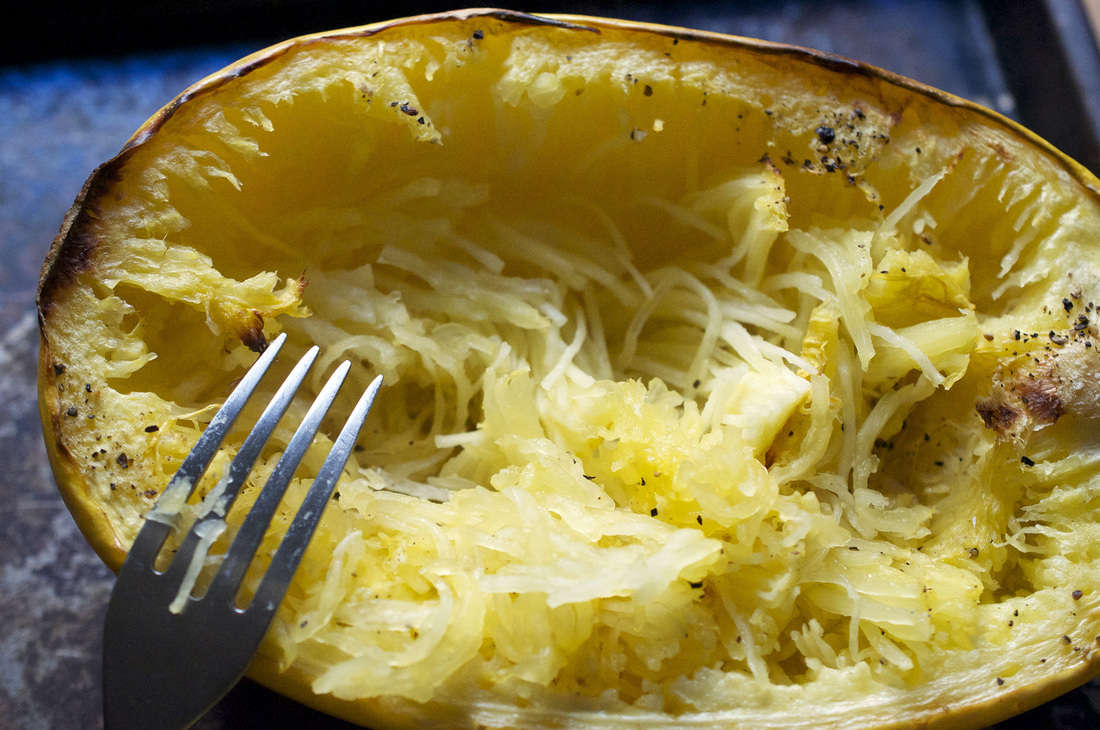
Preheat oven to 400°. Cut the spaghetti squash in half lengthwise and clean out the seeds and pulp with a spoon. Transfer the 2 halves on a baking sheet and spread 1 1/2 tablespoons of olive oil over the surface of the squash and season with a few dashes of salt and some freshly ground pepper. Put in the oven and set the timer to 30 minutes. Peel the shallots and cut in half lengthwise. Put a small skillet over med-high heat and melt the 3 tablespoons of butter. Once melted add the shallots to the butter and let them sit for 1 minute, spooning the butter over the tops of the shallot halves. After letting them sit, flip over and add the sugar. The shallots will start to brown and caramelize faster with the help of the added sugar. Let sauté for 8 minutes longer, about 10 minutes total, stirring often, the shallots will begin to fall apart. Season with a few dashes of salt and some fresh ground pepper. Remove the shallots from the heat and add the red wine vinegar. Return to the heat and stir vigorously, scraping up all the bits stuck to the bottom of the skillet. The shallots will start to break down even more and the vinegar will deglaze the skillet. Turn off the heat. When the 30-minute timer goes off you’ll want to add the shallot mixture to the oven. Transfer the shallots to a small ovenproof platter. Set the timer for 15 minutes. Rinse both the spinach and kale. Stem the kale and roughly chop both of the greens. Using the same skillet [no need to clean it, the skillet is well seasoned by the shallots] turn the heat to medium and add 1 tablespoon olive oil. After 1 minute, add the greens, stirring often. You just want to wilt the spinach and kale a little, sauté for amount 3 minutes, then remove from heat. Once the spaghetti squash is ready, after 45 minutes or so of roasting – it should be fork tender, remove it from the oven and let cool for 5 minutes. Removed the shallots from the oven as well. Shred the squash with a fork, it will break up into spaghetti like segments, so that all you have left is the skin. Transfer the “spaghetti” to a bowl and incorporate the wilted greens. Add 1/2 of the shallots, crumbled feta and torn mint leaves. Mix well. When you are ready to plate the dish incorporate the rest of the shallot mixture, feta, and mint as a topping on eat serving and finish with some fresh ground pepper. This dish is best when served warm, but it’s also great the next day right out of the fridge. |
All
Stuff I follow...
Not Without Salt
My New Roots Sprouted Kitchen Thug Kitchen Lady and Pups A CUP OF JO The Daily Meal Melissa Clark ...always 3191 Miles Apart The Sartorialist Garance Dore The Nourished Kitchen Archives
October 2014
|
 RSS Feed