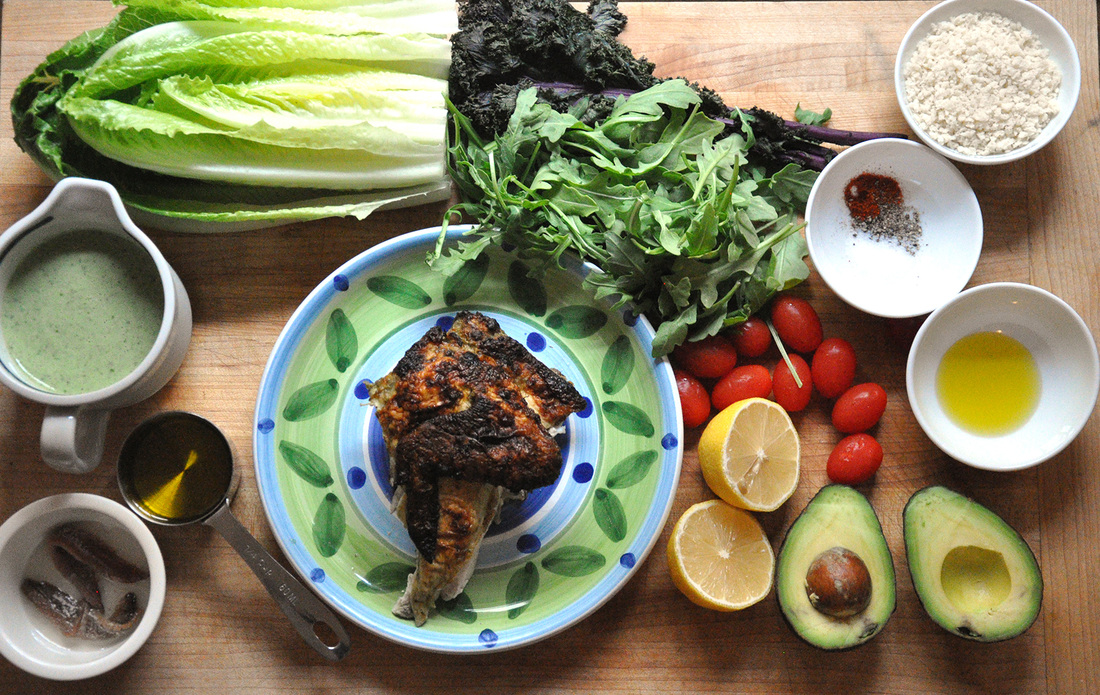
 I apologize – I haven’t been posting recently, but I have been cooking and eating – a lot. You see that’s been the problem either I don’t stop to take photos for my blog, or I’m trying something out for the first time – either a random concoction of my own or someone else’s recipe that I just cant stop thinking about. I even tried my hand at home made pasta. Excuse # 3 is that my sister was visiting – just in time to catch the last weekend of the Texas State Fair and all the fried food you could dream up. Again, I was all set to take photos, but I quickly got distracted by said fried food, and my good intentions fell by the way side. Therefore I’ve decided to dedicate this post to left overs based on some killer recipes I’ve tried out. The first is a smoothie, the Green Machine Smoothie to be exact taken from Whole Living’s website, it yields about 3 cups worth of healthy goodness. It combines parsley, romaine, kale, pineapple and ginger perfectly – I know I’ve gone on about parsley before but who knew it could taste so good in a smoothie? The recipe also calls for mango, but I’ve subbed in apple juice and apricot juice, it’s just as good. Have coconut water hanging around, you could add a little of that too! So I’m getting off track and could very easily end up wandering into my kitchen and see what else I can throw into my blender. My point is that I have some romaine lettuce and purple kale in my fridge and whenever I have romaine I always want to make a creamy caesar salad. 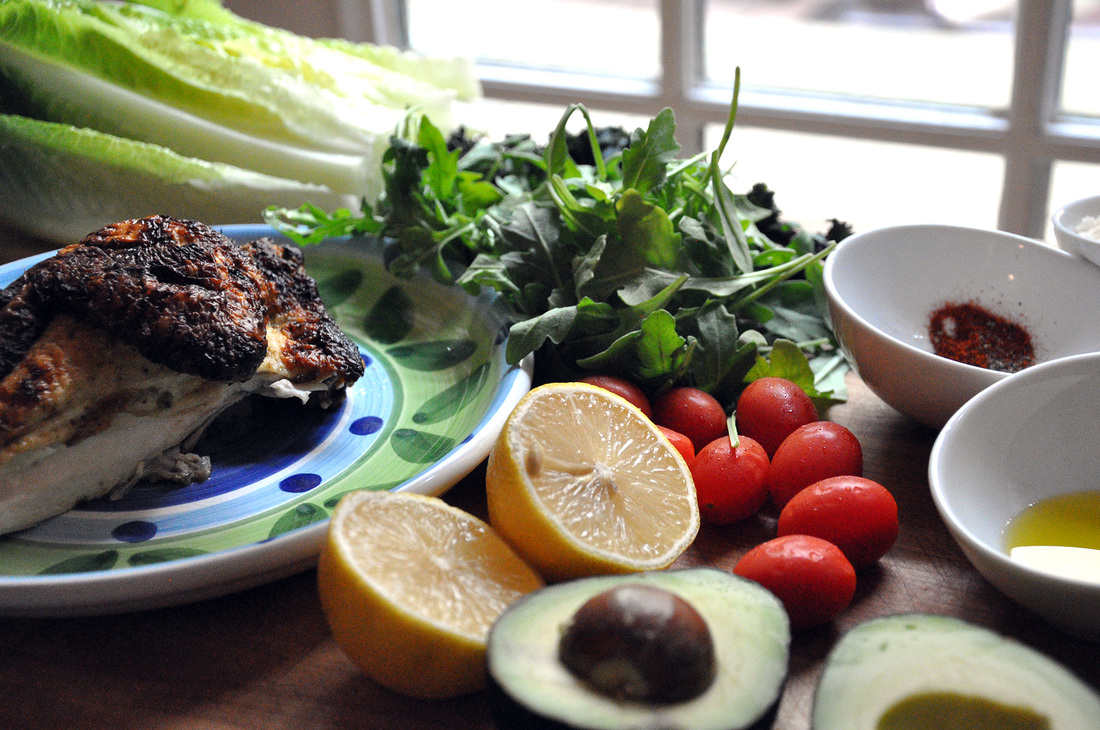 This brings me to the next recipe that I was literally talking about for days - Melissa Clarks’, Green Goddess Roasted Chicken from the New York Times. I don’t cook chicken often much less a whole chicken, but the photos from this NYTimes story where pretty ridiculous. All you had to do to was blend a few ingredients, Buttermilk, basil, chives, green onion, garlic, and a little salt and pepper, do a spatchcock number on that chicken [butterfly it] and let it marinate over night. Then roast in the oven for about 40 minutes at 500 degrees. You reserve a little of the marinade sauce at the beginning to drizzle on the finished bird and its pretty close to roasted chicken perfection. The only suggestion I would make is that if your bird is small enough after it’s been flattened, brown the underside in a cast iron skillet and then transfer it into the oven. Basically what I am left with is, some leafy greens, left over roasted chicken, and a badass basil chive buttermilk sauce. So yes, in my mind this equals a rockstar version of the good old traditional chicken caesar salad. 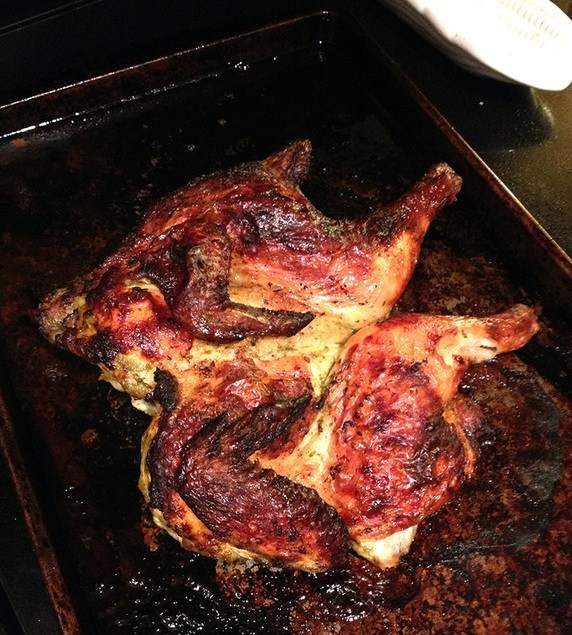
  Rockstar Chicken Caesar Salad PRINT RECIPE [Prep: 20 / TOTAL: 20] [Serving size depends on home much chicken is left over]
Dressing:
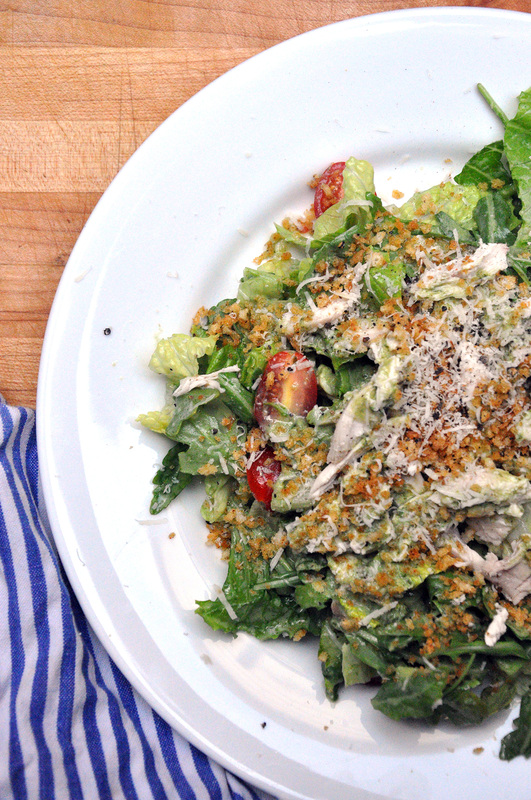
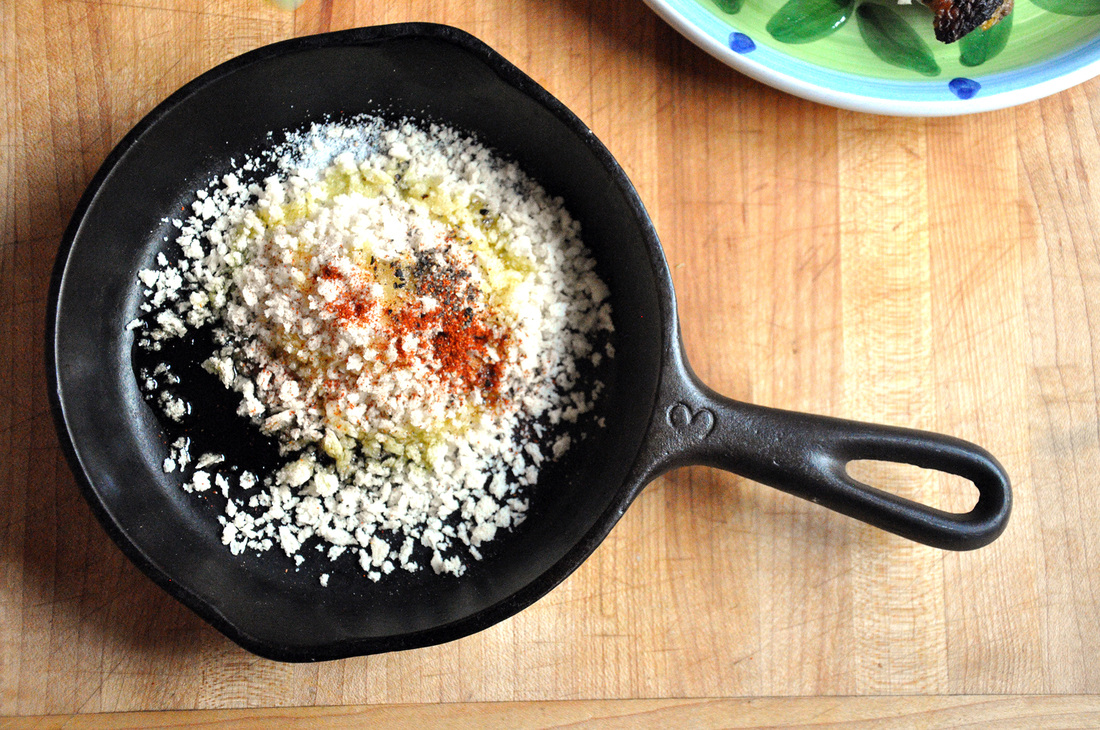
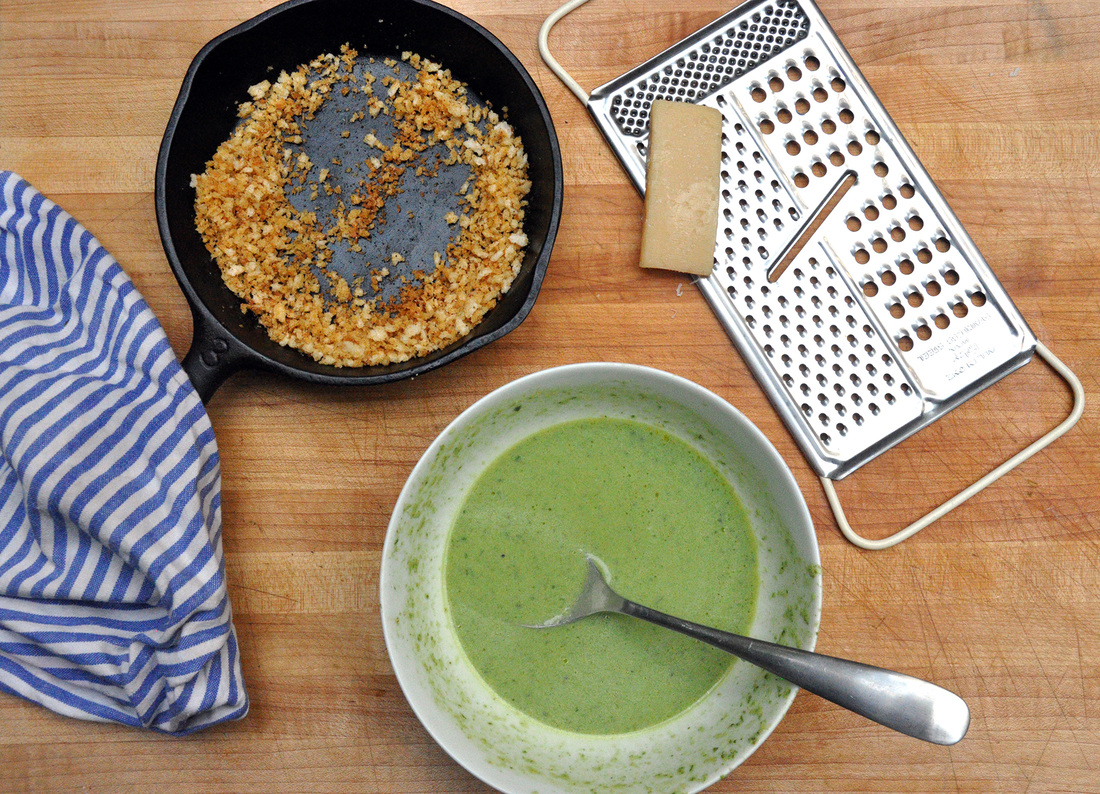 For the basil and chive buttermilk dressing, whisk all of the ingredients together in small bowl except for the olive oil. The oil you should slowly incorporate a little at a time while whisking, so it can emulsify and the dressing can become thicker. This dressing won’t become as creamy as a traditional caesar salad because of the volume of buttermilk already in the sauce – it will still taste darn good. To assemble the salad just wash and chop up the romaine, kale [stem it first] arugula and put into a large mixing bowl. Wash and halve the cherry tomatoes, pit and cube/slice the avocado and mix both in with the greens. Here you can pre-mix the salad with a few tablespoons of the dressing – just enough to coat everything. In small skillet or saucier pan toast a 4 tablespoons of panko crumbs on medium-high heat. Add a dash of olive oil, a pinch of salt, a little cracked pepper and a pinch of cayenne pepper. Toast for 4 minutes, stirring a few times so it doesn't burn. Pull the roasted chicken off the bones and slice it up. [You should save all the bones, skin and other inedible pieces from the whole roasted chicken, it will make killer stock. You can always save them in a Ziploc bag in the freezer until you are ready to make a homemade stock.] Plate the mixed salad and top with the sliced chicken. Drizzle more of the dressing on top and finish off with the toasted panko, the shaved parmesan and a few grinds of cracked pepper. 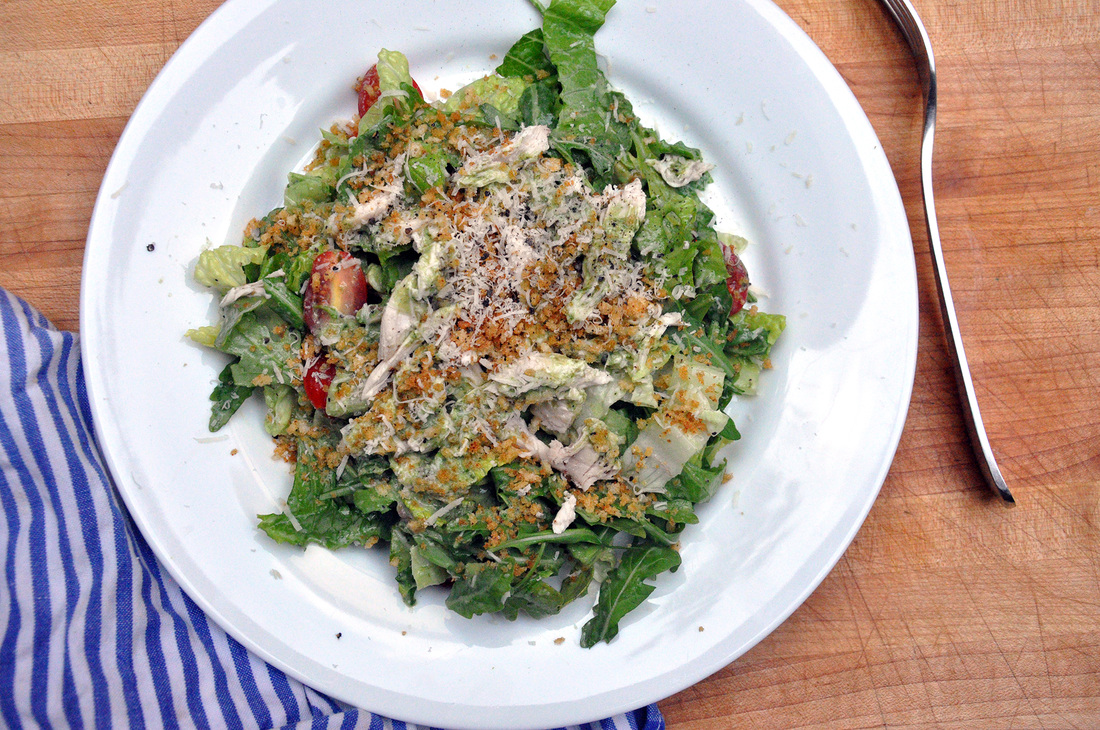 [If you see something missing in this photo it's because I had to ditch the purple kale, it smelled pretty bad – it had gone funky. It’s always a bummer when food goes to waste...] NOTE: If you have some leftover chicken but no buttermilk sauce (so sad) no worries, here’s a basic caesar dressing that’s easy to whip up:
Classic Caesar Dressing [Should make enough for 2-4 salads, depending on serving size]
Blend all the ingredients together in small food processor, except the olive oil, or mash anchovies and pressed garlic together in a mortar and pestle and incorporate all the ingredients – again, except the olive oil. Transfer to a small bowl or measuring cup and slowly drizzle the olive oil while whisking the mixture. The slow drizzle will help the dressing come together and become creamy. If it becomes too thick for your liking you can always add a little water or vinegar to thin it out to be more like a vinaigrette.
3 Comments
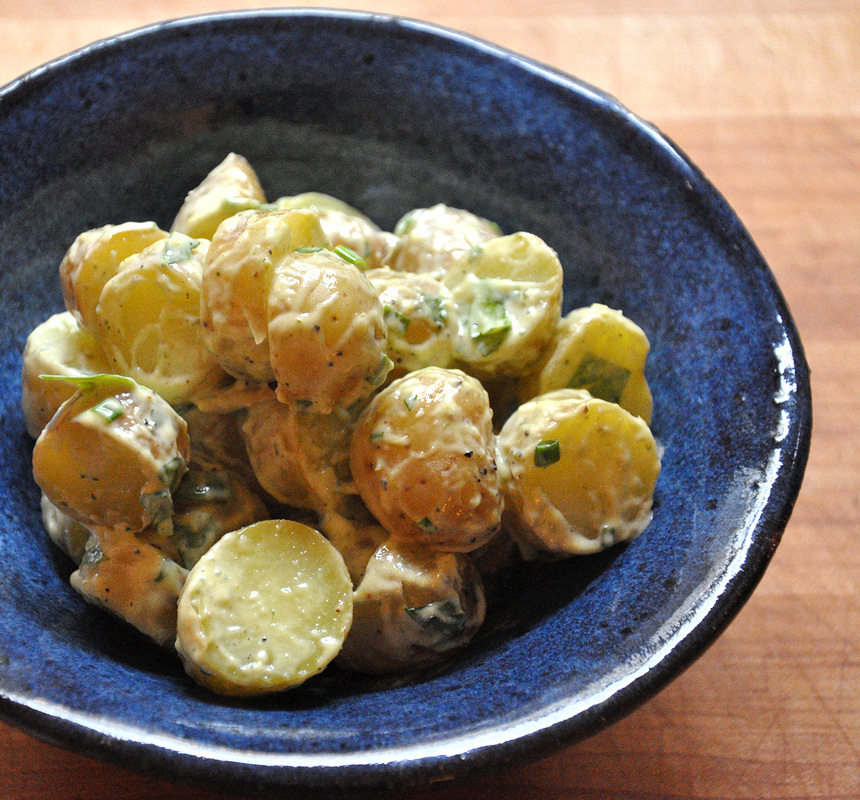 The varieties of potato salads are endless. Some are light and fresh, others tangy and vinegary with chunks of cornichon, some are heavy on the mustard seeds, other the mayo. Everyone has a favorite. I never turn down potato salad; I have to try them all. This general understanding is what brought me to my latest creation. This past summer I was lucky enough to be invited to an out of this world, celebratory, indulgent, week long vacation in Normandy with cherished old friends. We stayed at a chateau…yes I am still pinching myself. There was an abundance of good food…it was one of those experiences where everything simple just tasted better. The bread, the brie, the saucisson, the wine…and apparently the potato salad. One of the nights we stayed in and cooked. Grilled meats, roasted veggies – charcuterie, olives and cheese were plentiful, as were fresh crusty baguettes. And then there was this simple potato salad with the tiniest potatoes I’d ever seen. It was lemony and chivy, a little creamy and gone way to quickly. I never got the recipe – perhaps there wasn’t even one, perhaps it was the creation of whim. Though potato salads are a thing of the summer, I recently I saw these same potatoes in the grocery store and knew what I had to do with them. 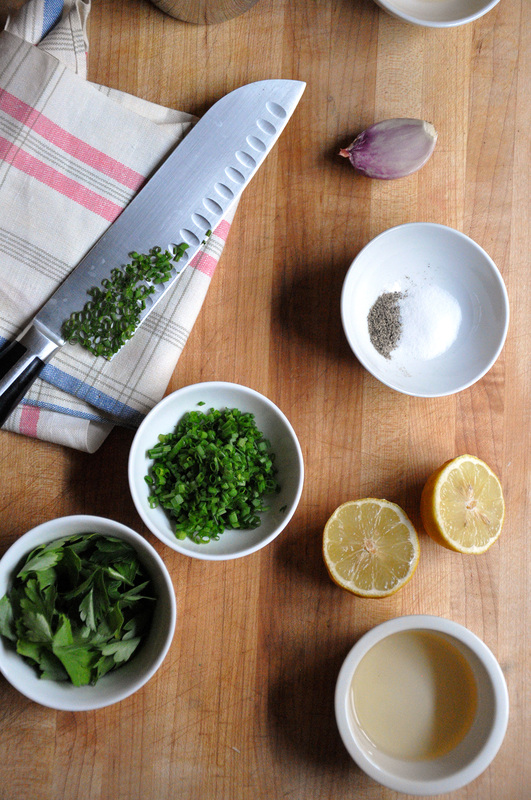 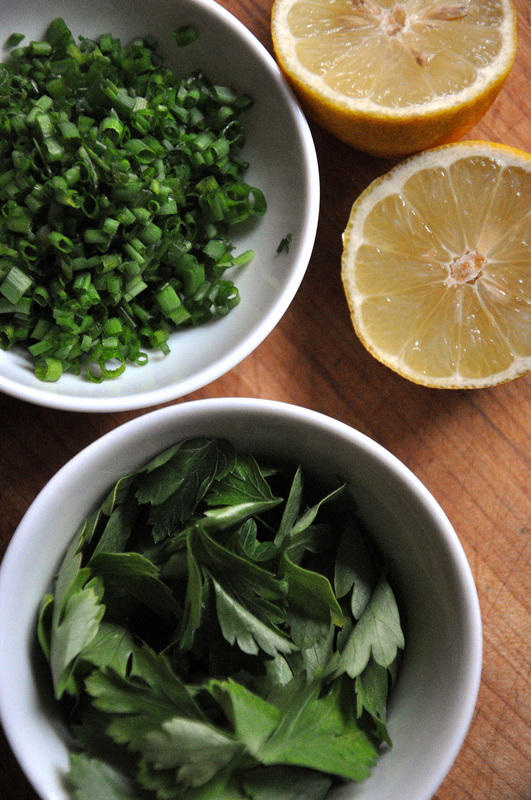 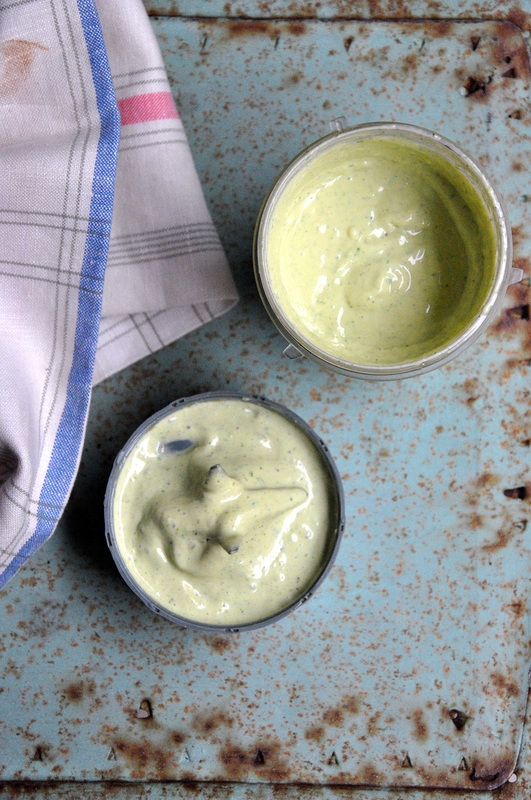 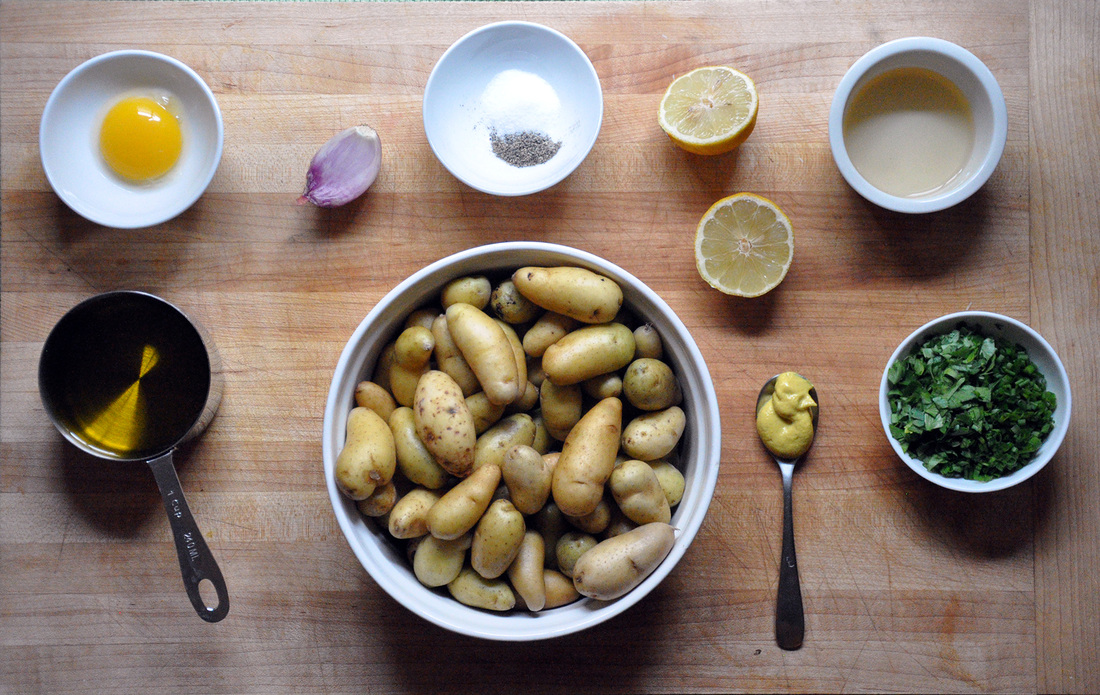 Three Herb Aioli Teeny Tiny Potato Salad PRINT RECIPE [Prep: 10 / Cook: 15 / TOTAL: 25 minutes] [makes about 1 cup aioli and 6 side servings of potato salad]
Start out by washing the teeny tiny potatoes thoroughly under cold water. We will wait to cut them until after they have been cooked. Place potatoes in a large saucepan and fill with cold water until just covered. Salt water generously [at least 1 teaspoon], put on high heat and cover. It should come to a boil after 4 minutes. As soon as this happens lower heat to medium and leave uncovered simmering for 10 minutes. You can check for doneness by piercing the potatoes with the point of a paring knife, it should slide in easily. If you think they are ready, it’s always a good idea to do a taste test first. While the potatoes are coming to a boil, incorporate the peeled and quartered shallot, half of the chives, half of the parsley,1 cup olive oil, 1 egg yolk, 1 teaspoon of salt in a small food processor. Blend for 30 seconds. Now add to the food processor, 2 tablespoons of tarragon vinegar, lemon juice [from one of the lemons], cracked pepper and mustard and blend for 30 seconds. This combination will make an aioli. The longer you blend the thicker it will become. You can always thin it out with some water. This step can also be done by hand. You would whisk together all of the ingredients except for the oil. Once the mixture is well combined, add the olive oil, dribbling it in slowly while whisking the egg yolk and vinegar mixture. The aioli should start to form as the yolk soaks up the oil. When the potatoes are finished remove them from the heat and pour into a colander placed in the sink. Let the potatoes rest in the sink until they are cool enough to handle. If you’re tight on time, you can run cold water over them for 1 minute so they are cool enough to handle faster. Cut the potatoes into ½ inch rounds. Pour juice from the second lemon, 1 tablespoon of tarragon vinegar, and 1 teaspoon salt over the potatoes, mix and let sit for a few minutes. Add the aioli and the chopped parsley and chives, toss well. Taste and season with sea salt or fresh cracked pepper – and enjoy! 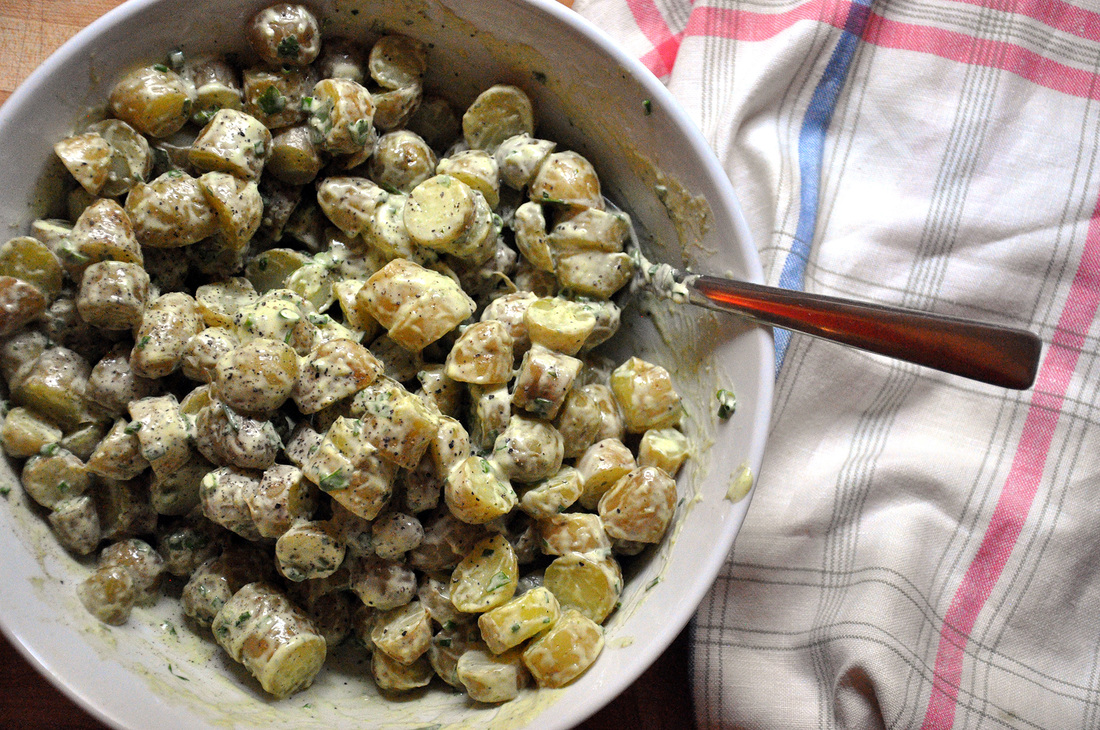 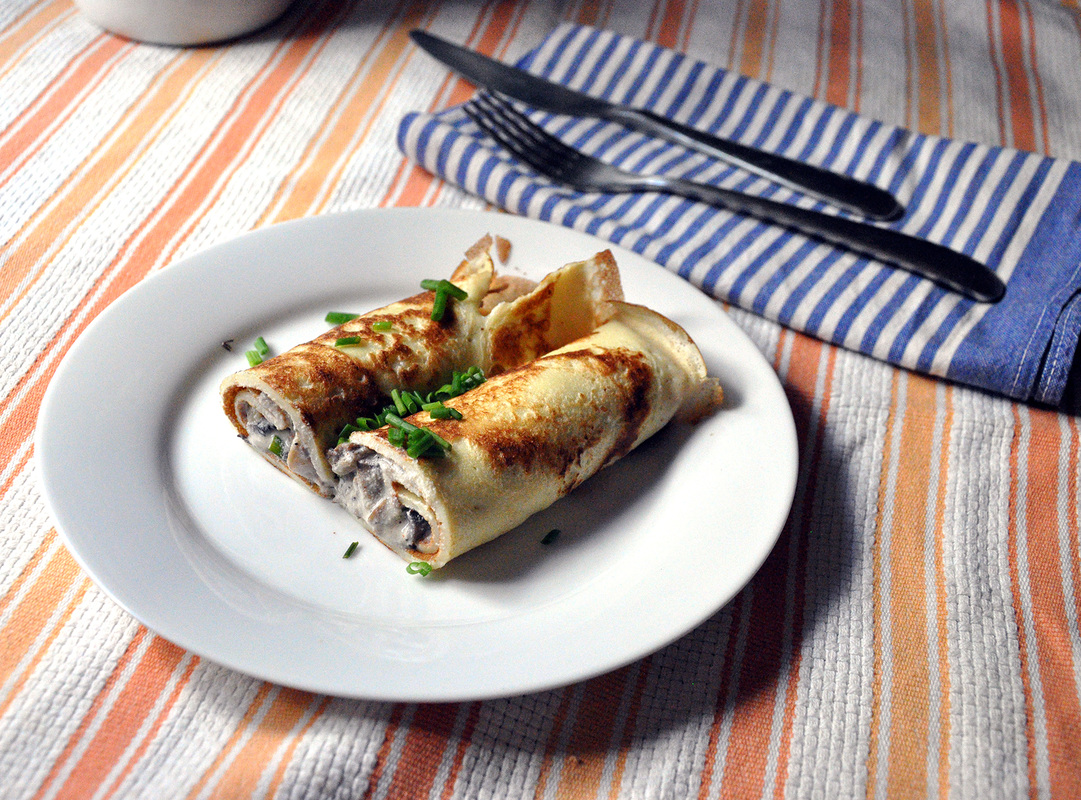 Recently my boyfriend has been on a crepe craze. He’s been whipping them up for years, so I’m a lucky girl. I haven’t tried my hand at them in a while, but the other day I really really wanted some mushroom crepes… My early memories of these thin, delicate pancakes revolve around them being stuffed with mushrooms and cream or baby shrimp and dill. My Swedish grandmother and great aunt would make them when I visited in the summer and fall. It’s not a very strong memory – other parts of my trips to Sweden remain closer to the surface…the cinnamon buns [kanelbullar], gummy candy [goodies], lingonsaft [lingonberry syrup and water] and of course the Äppelkaka – I was young and sweets were always on my mind…Anyways these creamy mushroom crepes have been lingering in my thoughts recently and I had to have them. Unfortunately I don’t have either my grandmother’s or great aunt’s recipe, so with a little help from a Swedish cookbook I sort of come up with my own version. Traditionally the pannkakor med svampfyllning [Swedish pancakes with wild mushroom filling] has just that, wild, fresh picked mushrooms. I had good old white button mushrooms – champignons - on hand. Also the recipe calls for cream; I decided to use some ricotta as well. Add a little lemon, paprika, chives, and onions…and what I ended up with was remarkably close to what I remembered. It was a happy moment. The most amazing thing about crepes is their versatility. You could throw the chives in the crepe batter, instead of the filling, the paprika too. Or save some of the crepes for dessert and make a sweet filling… 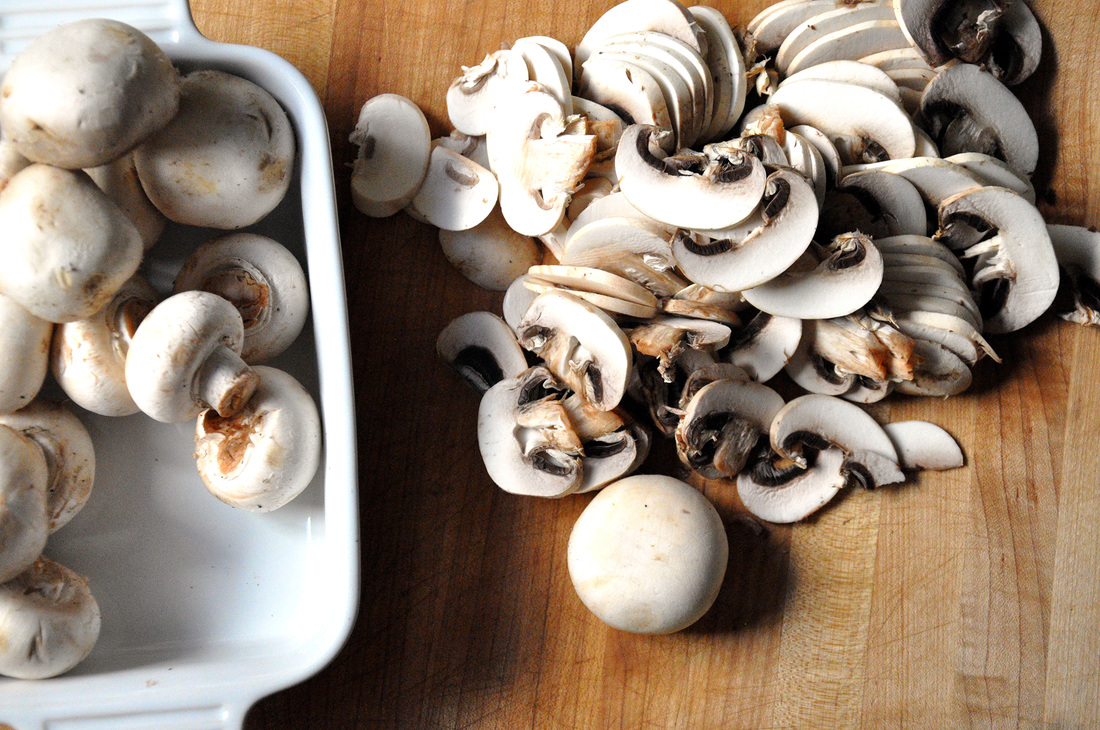 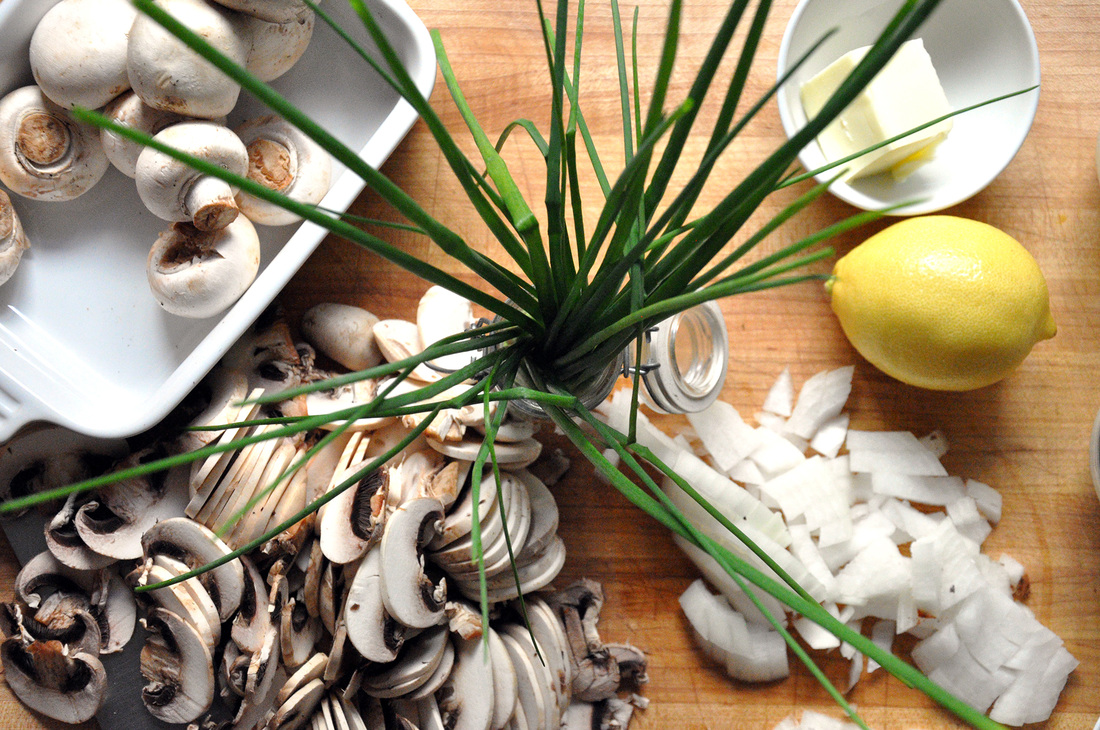 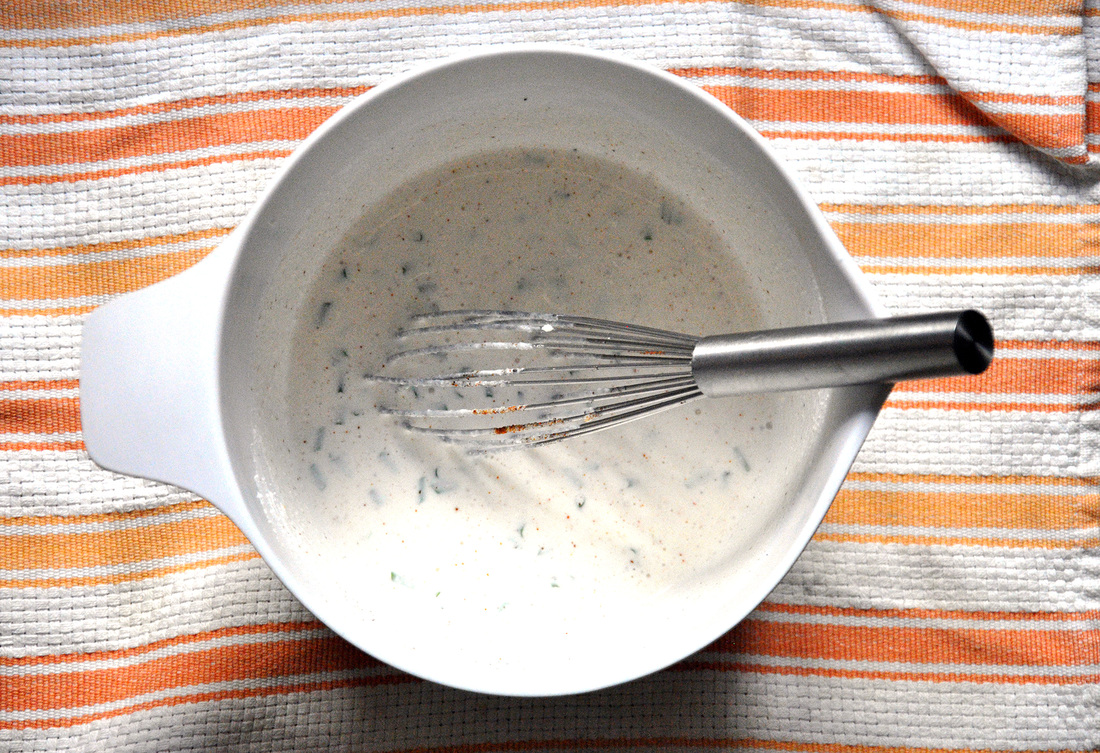 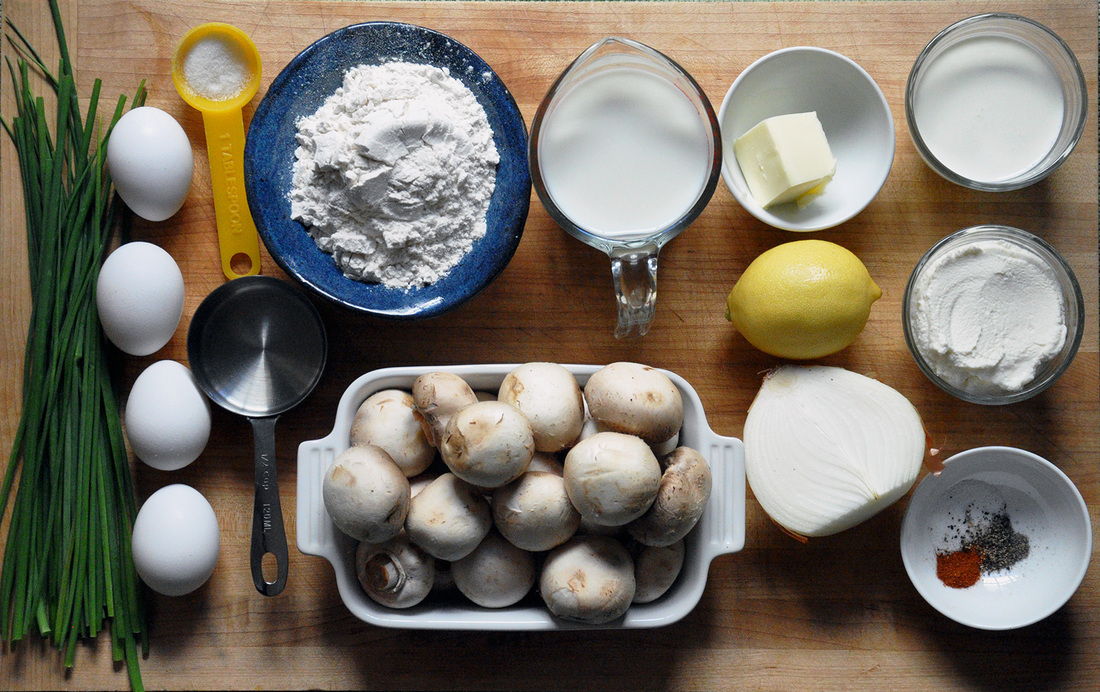 Swedish style crepes with Mushroom Ricotta filling PRINT RECIPE [Prep: 20 minutes / Cook: 25 minutes / TOTAL: 45] [make about 10 crepes] Crepes:
Mushroom Ricotta filling:
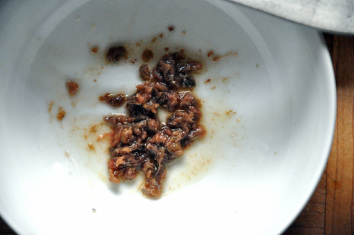
To make this crepe batter you’ll need a food processor or blender…then add all of the ingredients and blend! You have your fancy crepe batter ready to go – isn’t it awesome how easy this is. You can keep the batter in the blender and just pour it in to the pan when you are ready to make the crepes. First though, let’s compose part of the mushroom ricotta filling. Combine the ricotta cheese, cream, paprika, chives, lemon juice, salt and pepper – a few grinds of the pepper and a pinch of salt should do. Now whisk this all together and taste. It should have a balanced flavor, not too lemony or salty. The actual making of the crepes can be a little intimidating. Put a sauté over medium heat and add a tablespoon of butter. Make sure to coat the bottom of the pan as well as the sides. Wait until the pan is hot [you can splash a few drops of water to test, it will sizzle when it’s ready] and have a spatula ready. Pour in about a ¼ cup of the batter, or just until the batter almost covers the bottom of the pan. Tilt and rotate the pan so that it is evenly coated with the batter. You will notice that small bubbles rise to the top of the crepe – this is good, it means it is almost ready to flip - depending on how hot the pan is, this could take 1 minute. Take the spatula and gently easy it under the edges of the crepe until you can slide it the whole way around and then ease it towards the center of the crepe. There are a few ways to flip it, you can lift the edge with a spatula and then grab it with your fingertips, or you can try flipping it with the spatula alone. It make take a few tries, but you’ll get the hang of it, and anyways, they don’t need to look perfect – they just need to taste that way. The crepes will need less time on the second side, they should be ready to come out after about 30 seconds. You will need to add a little more butter to the pan as your crepe making process moves along - maybe every third crepe or so. As they finish up you should have a plate nearby that you can transfer them to and cover with a paper towel. You don’t want to cover the crepes with foil, as it will make them soggy. 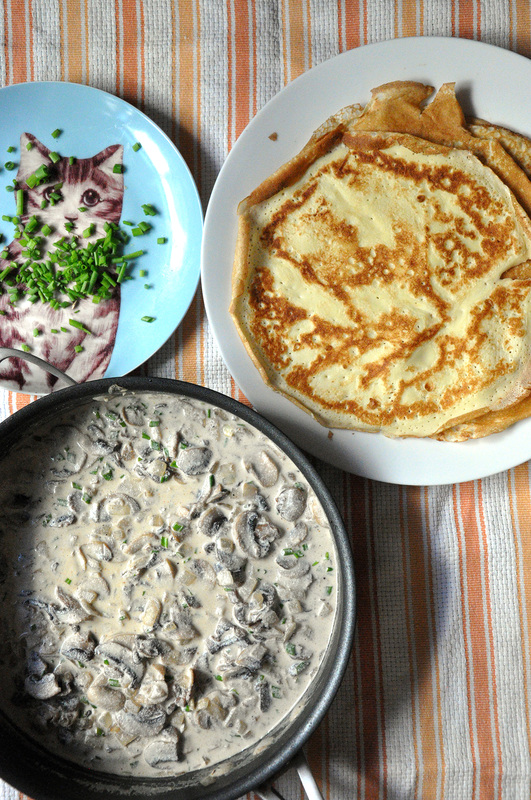 All that’s left to do is finish the mushroom ricotta sauce. Thinly slice up the mushrooms and dice the onions. You can use the same sauté pan; just add a tablespoon of butter and a tablespoon of olive oil. Once this is hot [again you can tell by splashing a few drops of water into the pan – if there’s a sizzle you are good to go] add the minced onion and sauté for 3 minutes. Then add the mushrooms and sauté for 5 minutes longer. At this point you can a pinch of salt and a few grinds of black pepper. After the 5 minutes is over add the ricotta and cream mix to the sauté pan. Cook this mixture for 2 minutes longer, stirring a few times. To compose the crepe, just spoon a few tablespoons of the mushroom sauce into the crepe, roll it up and garnish with some chives.  |
All
Stuff I follow...
Not Without Salt
My New Roots Sprouted Kitchen Thug Kitchen Lady and Pups A CUP OF JO The Daily Meal Melissa Clark ...always 3191 Miles Apart The Sartorialist Garance Dore The Nourished Kitchen Archives
October 2014
|

 RSS Feed